
Hardwood flooring remains the gold standard in residential real estate. It offers an unmatched blend of durability, timeless aesthetics, and long-term value. However, even the finest oak or maple planks are not invincible. Over decades, the relentless march of foot traffic, pet claws, sunlight exposure, and accidental spills can leave floors looking dull, scratched, and weathered.
For many homeowners, the sight of worn flooring prompts an immediate thought: Do I need to rip it all out? The answer is frequently no. Refinishing can breathe new life into tired wood, restoring the luster of a home without the exorbitant expense and environmental waste of a full replacement. But before you call a contractor, it is essential to understand that refinishing is a high-stakes surgical procedure for your home. It requires precise assessment, careful planning, and a realistic understanding of your floor’s structural history.
The Anatomy of the Decision: Can Your Floors Be Saved?
The most critical step in the refinishing process occurs long before the sander is plugged in. Not every hardwood floor is a candidate for resurfacing. The deciding factor is the "wear layer"—the thickness of the wood above the tongue-and-groove joint.
The "Wear Layer" Reality Check
"Before refinishing hardwood floors, you must check the wood’s thickness to ensure it has enough of a wear layer left to withstand sanding without damaging the structural integrity of the planks," says Sean, a Lead Contractor at Kanna Construction & Remodeling.
Solid hardwood floors are typically thick enough to be sanded and refinished multiple times throughout their lifespan. However, engineered hardwood—which consists of a thin veneer of real wood bonded to a composite core—often has a limited window of opportunity. If the top layer is too thin, the sander may cut through to the core, ruining the floor entirely.
Assessing Damage Levels
Beyond thickness, the physical state of the floor dictates the feasibility of a project:
- Surface-Level Issues: Minor scratches, scuffs, and dullness from age are the ideal candidates for a standard screen-and-recoat or a full sand-and-refinish.
- Structural Failures: Deep gouges that penetrate the wood fibers, persistent water damage that has caused warping or rot, and buckling from moisture infiltration are red flags. In these cases, individual board replacement or a full floor replacement is almost always necessary, as sanding will only highlight the defects.
The Economics of Restoration: Understanding the Costs
Budgeting for a refinishing project is rarely a "one-size-fits-all" scenario. The final invoice is influenced by a complex web of variables, including geographic location, square footage, the current state of the wood, and the complexity of the desired finish.
Factors Influencing the Bottom Line
Professional contractors generally break down costs based on the following:
- Preparation and Repairs: If the floor requires extensive nail-hole filling, board replacement, or leveling, the labor cost will escalate significantly.
- Stain Complexity: Moving from a light finish to a dark stain—or vice versa—requires a more aggressive sanding process to remove the old pigment, increasing labor hours.
- Dustless Sanding: Many modern homeowners opt for dust-containment systems. While these keep the home cleaner, they command a premium price compared to traditional, messier methods.
- Stairs and Transitions: Detailed work on stair treads, risers, and balusters is tedious and time-consuming, often billed at a higher rate per square foot than standard flat areas.
Market Variations
According to industry experts, the price gap between contractors can be wide. Josh Brooks of Josh Brooks Construction and Renovation Inc. highlights that material costs fluctuate, and hidden issues—such as floors that were previously waxed or treated with non-compatible substances—can require extra labor to clean before sanding can even begin. Always request at least three detailed quotes, ensuring each itemizes the sanding stages, the type of sealer used, and the number of coats being applied.
Chronology of a Refinishing Project
Homeowners often underestimate the disruption caused by a professional floor refinishing job. It is not a "quick fix" but a multi-day (and sometimes week-long) construction project.

Phase 1: Preparation (Days 1–2)
The home must be emptied. All furniture, rugs, and wall hangings (to protect them from dust) must be removed. Contractors will seal off rooms with plastic sheeting to prevent dust migration.
Phase 2: Sanding (Days 2–4)
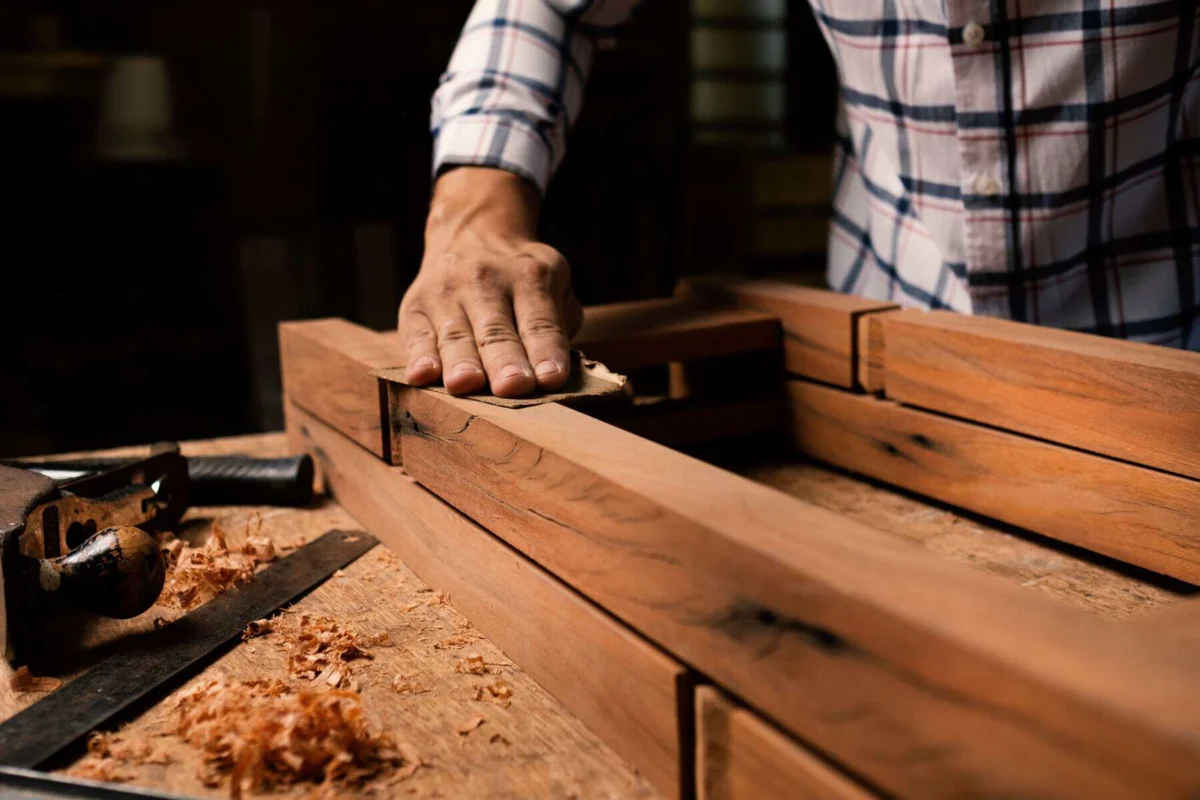
The old finish is stripped away. This is the most labor-intensive phase. Contractors start with a coarse grit to remove the old finish and any deep scratches, then progressively move to finer grits to smooth the wood surface.
Phase 3: Staining and Sealing (Days 4–6)
If a color change is requested, the stain is applied. Once the stain has set, the first coat of protective finish (polyurethane, water-based, or oil-based) is applied.
Phase 4: Curing (Days 7–14)
This is the most misunderstood phase. While the floor may be "dry" to the touch within 24 hours, it is not "cured." Walking on the floor in socks is usually safe after 24 hours, but replacing heavy furniture or allowing pets onto the floor too early can leave permanent indentations in the finish.
The Aesthetic Dilemma: Changing Your Color
One of the most common reasons to refinish is to modernize the home’s look. Currently, the trend is shifting toward natural, lighter finishes that highlight the raw grain of the wood.
Ryan Brining of White Maple Construction notes that transitioning colors is not merely a design choice; it is a technical challenge. "A lot of homeowners want a natural finish now," says Brining. "But if the floor was previously stained with a dark, penetrating product like ‘Provincial,’ those pigments have settled deep into the seams and grain. Getting back to a ‘raw’ look requires much deeper sanding than a standard refresh."
If the wood is too thin to withstand that level of sanding, or if the dark stain has bled into the fibers of the wood, you may be left with a patchy, uneven result. In such scenarios, replacing the floors may actually be the more cost-effective way to achieve the desired aesthetic.
The DIY Temptation vs. Professional Reality
In the era of internet tutorials, the DIY route seems increasingly attractive. However, hardwood refinishing is perhaps the most unforgiving DIY project in home improvement.
The Risks of Amateur Sanding
"Heavy drum sanders are powerful machines," warns Sean of Kanna Construction. "If you pause for even a second, the sander will leave a deep, permanent gouge in the floor. If you tilt it, you’ll create an uneven surface that is impossible to hide."
Professional contractors possess the "touch" required to keep the machine moving at a consistent speed and angle. For a homeowner, one mistake can result in thousands of dollars in damages or the premature loss of the floor’s remaining thickness. While a DIY approach might save on labor, the cost of renting industrial-grade equipment, purchasing high-quality finishes, and the high likelihood of needing a professional to "fix" your mistakes often makes the DIY savings negligible.

Strategic Implications: Refinishing for Resale
If the primary goal of your project is to increase home value for a sale, you must act with data-driven caution.
The Return on Investment (ROI)
Refinishing is generally considered a high-ROI improvement. It refreshes the home’s primary asset—the flooring—making it appear cleaner and more modern. However, if the rest of the home is outdated, new floors might actually highlight other deficiencies.
Before committing, consult a local real estate agent. They can provide a comparative market analysis (CMA) to see if similar homes in your neighborhood with refinished floors command a higher price point. In some instances, a simple professional cleaning or a "buff-and-coat" (where the top layer is lightly abraded and a new protective coat is added) is sufficient to improve curb appeal without the expense of a full sand-down.
When to Walk Away: The Case for Replacement
There comes a point in the life cycle of every floor where surrender is the better option. As Brining points out, major renovations that involve moving walls or adding square footage often render old flooring obsolete.
"When you are tying new flooring into existing wood, a clean patch is incredibly difficult to achieve," Brining explains. "The old wood has aged, changed color, and expanded/contracted differently. Trying to weave new boards into old ones often leads to a visible seam."
If your project involves significant layout changes, it is often more prudent to replace the flooring in the affected area entirely. This ensures a consistent finish, identical board widths, and a uniform structural integrity across the entire living space.
Conclusion: A Well-Informed Path Forward
Refinishing hardwood floors is an investment in both the longevity and the beauty of your home. It is a process that requires balancing your aesthetic desires with the structural realities of your existing wood. By having a professional assess your floor’s thickness, obtaining detailed, itemized quotes, and planning for the necessary disruption, you can ensure that your flooring remains a proud centerpiece of your home for years to come.
Before you commit, remember: the goal is to enhance, not just change. Whether you choose to refinish or replace, the decision should be grounded in the long-term health of your home and the specific requirements of your unique living space. Start by inviting a professional to your home for a consultation; their expertise is the best tool you have in protecting the foundation of your investment.