
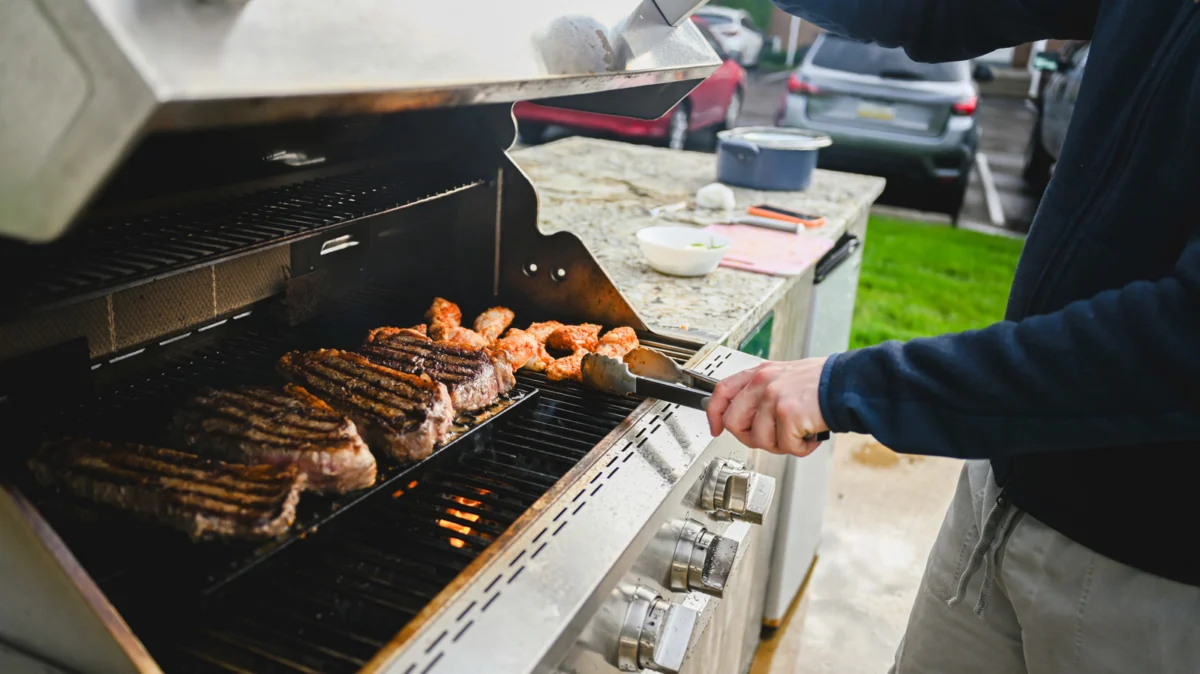
There is perhaps no greater culinary frustration than the “failed ignition” scenario. You have seasoned your burger patties to perfection, prepped the corn, and gathered your guests, only to find that your gas grill—the centerpiece of your backyard gathering—refuses to reach a proper searing temperature. A lukewarm grill doesn’t just slow down your meal; it ruins the texture of your proteins and prevents that essential Maillard reaction that gives grilled food its signature flavor.
When your grill fails to perform, the impulse is often to assume the appliance is broken beyond repair. However, culinary experts suggest that most heating issues are caused by simple, solvable mechanical or environmental factors. To help you master your outdoor kitchen, we consulted with Chef Dennis Littley of Ask Chef Dennis to create a definitive diagnostic checklist for when your grill isn’t hitting the heat.
The Anatomy of the Issue: Main Facts and Fundamentals
A gas grill operates on a delicate balance of pressure, fuel flow, and airflow. When one of these components is compromised, the BTU (British Thermal Unit) output drops, resulting in weak, yellowing, or flickering flames. Before you call a technician or consider purchasing a replacement, it is vital to understand that your grill is designed with built-in safety features that may occasionally "trip" and restrict fuel flow.
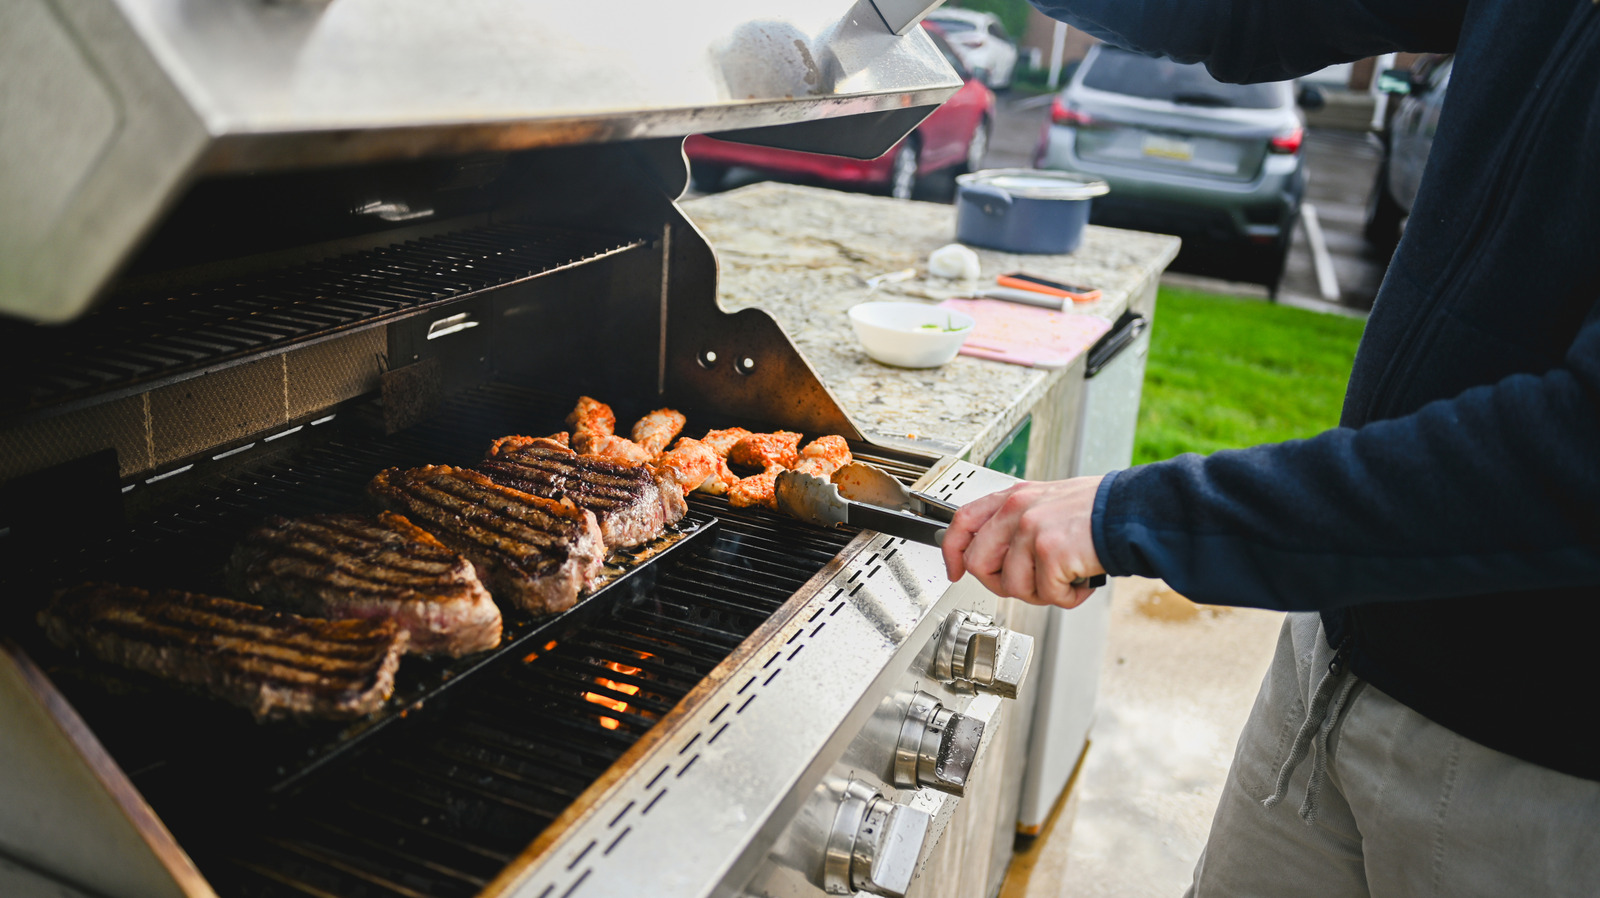
"The first line of defense is always the simplest," says Chef Littley. "Check the propane tank. It sounds like common sense, but a low tank is the most frequent culprit behind a cold grill." Beyond fuel levels, the interaction between your regulator, the hose, and the burner tubes creates a chain of operation. If any link in that chain is blocked by debris, damaged by the elements, or improperly engaged, the entire system will underperform.
Chronology of Troubleshooting: A Step-by-Step Approach
If you find yourself facing a tepid grill, follow this chronological order of operations to isolate the problem efficiently and safely.
1. Assess the Environmental Variables
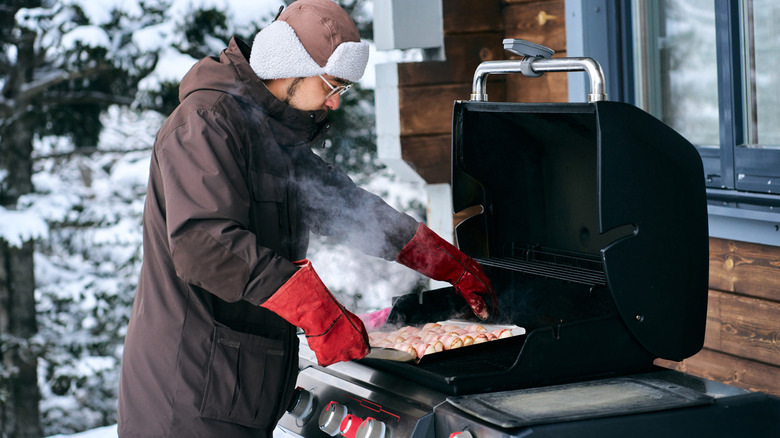
Before dismantling the hardware, look at the conditions around you. Are you grilling in a wind tunnel? Extreme weather can wreak havoc on a grill’s internal temperature. "Strong winds make it difficult to maintain consistent flame height, while extreme cold can prevent the grill from reaching high temperatures," Littley explains.
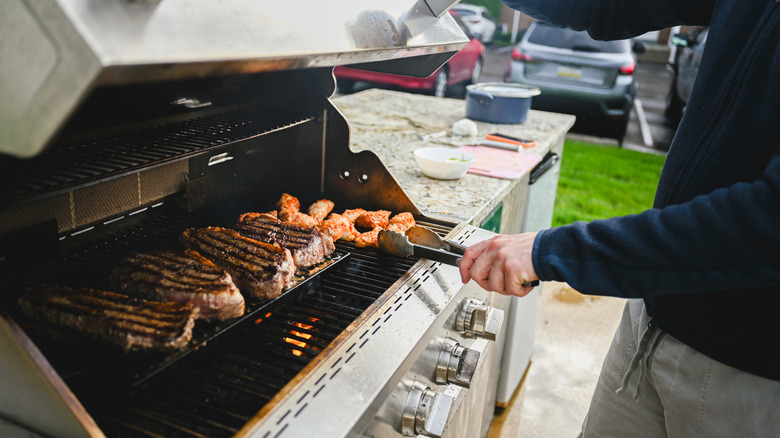
If you are cooking in inclement weather, move your grill to a sheltered area—ensuring you maintain proper ventilation—to protect the burners from gusts. If the weather is freezing, be patient; it will take significantly longer for your grill to preheat than it would on a temperate summer day.
2. Verify Propane Levels
An empty tank is obvious, but a near-empty tank can be deceptive. As the pressure in the tank drops, the flow of gas to the burners can become inconsistent. Furthermore, if your tank is overfilled, it can trigger the regulator’s safety bypass. A standard 20-pound propane tank should weigh roughly 37 pounds when full. If you suspect your fuel levels are low, use the "water test": pour a cup of warm water down the side of the tank and feel for the temperature change. The area that feels cool to the touch indicates the liquid propane level.
3. Reset the Regulator
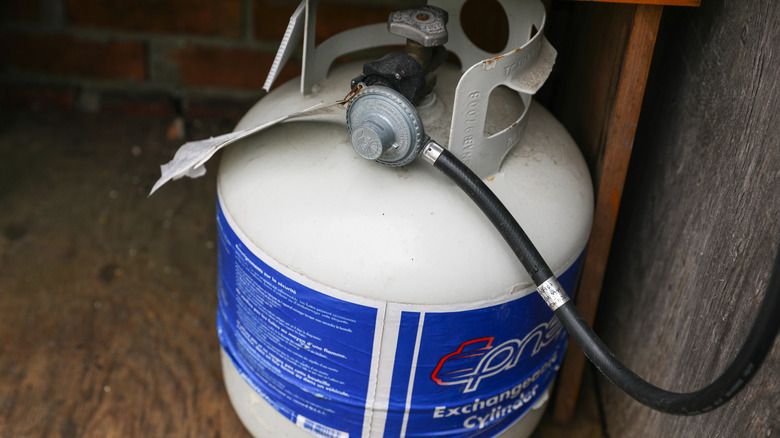
The regulator is the small, often round device that connects your hose to the propane tank. Its primary job is to manage the pressure of the gas moving from the tank to the grill. If it detects a sudden, irregular surge of gas—often caused by opening the tank valve too quickly or turning on the burners before the gas has stabilized—it will engage a "low-flow" safety state, restricting the gas to approximately 25% of its normal capacity.
To reset the regulator:
- Turn off all grill knobs and the propane tank valve.
- Disconnect the regulator from the tank entirely.
- Wait at least 60 seconds. This allows the pressure to equalize.
- Reconnect the regulator and open the tank valve slowly.
- Wait another 5 seconds before attempting to ignite a burner.
4. Inspect the Hose for Compromise
If the regulator reset fails, check the hose assembly. Over time, hoses can develop cracks, become kinked, or suffer from internal blockages. To check for leaks, brush a mixture of soap and water along the length of the hose. If bubbles form when you open the tank valve, you have a leak. Never attempt to patch a gas hose. If it is damaged, it must be replaced with a manufacturer-approved part immediately to prevent fire hazards.
5. Clean the Burners and Orifices
If your grill has hot and cold spots, or if only one side of the grill is heating, the issue is likely localized to the burner tubes or ports. Insects, spiders, and grease buildup are the most common offenders. Turn off the gas and allow the unit to cool completely. Using a soft brush, clean the burner ports to ensure gas can exit freely. You may also need to clean the burner tubes of any spider webs or debris that might be restricting airflow to the gas-air mixture.
Supporting Data: Understanding Burner Efficiency
It is important to differentiate between a broken grill and a misunderstood one. Many users assume their grill is faulty because the lid thermometer doesn’t hit 500°F instantly. However, internal thermometers are notoriously inaccurate when measuring grate-level heat.
Data from professional culinary testing indicates that gas grills are rarely uniform. Due to the placement of burner tubes and the design of heat tents, most grills have "heat zones." Using a high-temperature digital probe thermometer is the only accurate way to map your grill. If you find your grates are cool, you may simply be cooking in a "low-heat zone," and moving your food to a different area of the grill may solve the problem instantly.
Official Recommendations and Safety Protocols
When troubleshooting your grill, safety is the paramount concern. Chef Littley emphasizes that while DIY maintenance is encouraged for cleaning and basic resets, there are hard lines that should not be crossed.
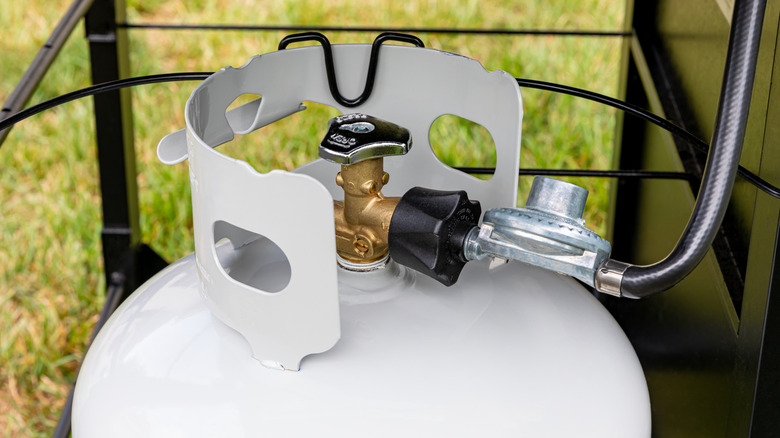
- Avoid DIY Regulator Repairs: Never attempt to disassemble or bypass the regulator. It is a critical safety device designed to prevent explosions. If it is faulty, purchase a replacement.
- Tools Matter: When cleaning burner ports, avoid using metal drills or sharp knives, which can enlarge the holes and alter the fuel-to-air ratio, leading to dangerous flare-ups. Use manufacturer-recommended soft brushes.
- Professional Inspection: If you have performed the reset, cleaned the burners, and checked the hose, yet the grill still fails to heat, there may be an internal issue with the manifold or the control valves. In these cases, consult a professional technician. Attempting to repair internal gas valves without specialized knowledge is a significant safety risk.
Implications of Proper Grill Maintenance
The implications of ignoring a "cold grill" go beyond undercooked food. A grill that is not burning clean—often characterized by yellow, lazy flames—is a sign of incomplete combustion. This can lead to excessive soot buildup on your food and the interior of the grill, which eventually attracts rodents and degrades the metal components of the firebox.
By following this maintenance schedule, you aren’t just ensuring that your burgers cook correctly; you are extending the lifespan of your appliance. A well-maintained gas grill is a long-term investment. Routine cleaning of the burner tubes and an annual inspection of the regulator-hose assembly can add years to your grill’s service life.
Ultimately, grilling is an art, but it relies on the science of thermodynamics. By understanding the flow of fuel from the tank to the flame, you transform from a casual user into a backyard pitmaster who can troubleshoot under pressure. The next time your grill fails to hit the high notes, don’t panic. Check your tank, reset your regulator, and keep your burners clean—your dinner, and your guests, will thank you for it.