
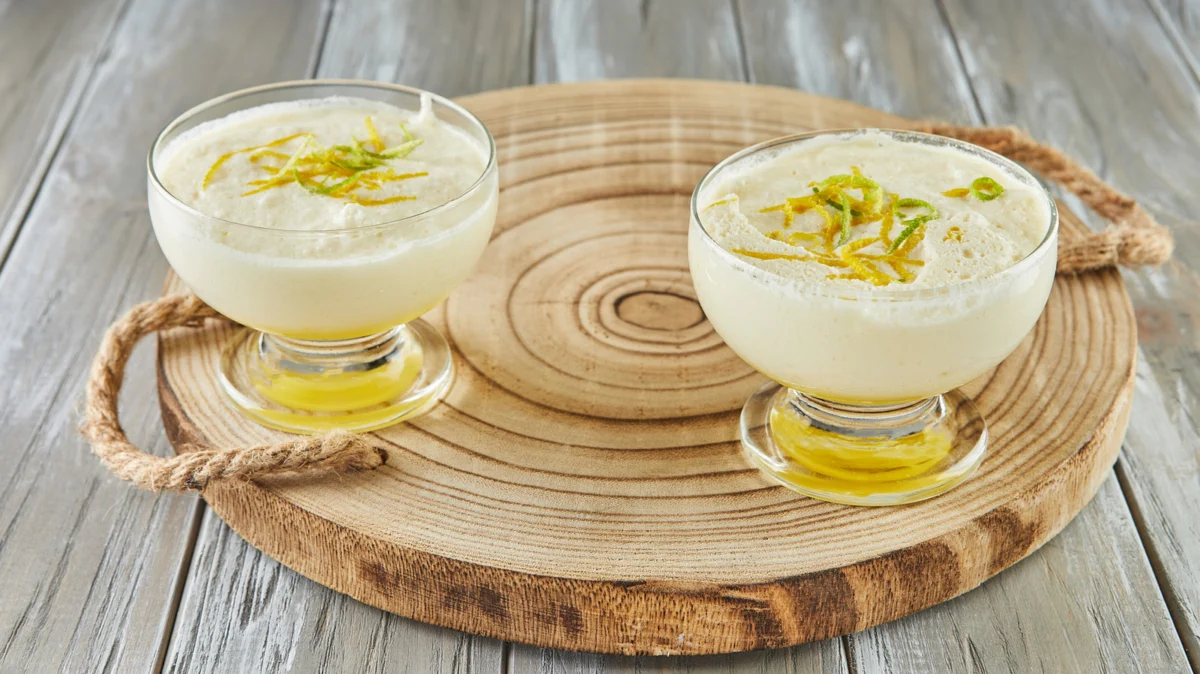
For home cooks and culinary enthusiasts alike, the term "mousse" has long been synonymous with complexity. The classic French preparation—a delicate balancing act of folding whipped egg whites into a chocolate or fruit-based custard, often stabilized with temperamental gelatin—has intimidated many a novice. Yet, a revolutionary, simplified method is currently changing the domestic culinary landscape, proving that a luxurious, cloud-like dessert does not require a pastry chef’s degree. By leveraging the unique chemical properties of two pantry staples—evaporated milk and sweetened condensed milk—paired with the vibrant acidity of fresh lemons, anyone can create a professional-grade mousse in minutes.
The Core Components: Chemistry in the Kitchen
The brilliance of this recipe lies in its minimalist approach. It requires only three primary components, yet the resulting texture rivals that of traditional methods.
- Evaporated Milk: Unlike standard milk, evaporated milk has had about 60% of its water content removed. When chilled to near-freezing temperatures, the remaining milk solids and fats become highly aeratable, allowing them to whip into a stable, creamy foam that provides the "mousse" body.
- Sweetened Condensed Milk: This serves as both the sweetener and the binding agent. Its thick, viscous consistency adds a velvety mouthfeel, while its concentrated sugar content provides the necessary structural support and sweetness to counteract the sharp acidity of the lemon.
- Fresh Lemon Juice: Acting as the acidic catalyst, the citric acid in the lemon juice reacts with the milk proteins. This reaction is the "secret sauce" that helps the mixture set into a firm, spoonable consistency during the refrigeration process without the need for traditional thickeners like egg yolks or gelatin.
A Chronological Guide to Perfection
Achieving the perfect consistency requires precision, despite the simplicity of the ingredients. Follow this timeline to ensure your dessert sets flawlessly.
Phase 1: Preparation (The Chill Factor)
The most critical step in this process occurs before the mixing even begins. Place your can of evaporated milk in the refrigerator at least 24 hours in advance. For the best results, place the mixing bowl and the whisk attachment in the freezer for 15 minutes before starting. Temperature is the governing variable here; if the evaporated milk is even slightly warm, it will fail to whip into the desired volume.
Phase 2: The Aeration Process (Minutes 0–5)
Pour the ice-cold evaporated milk into your chilled bowl. Using an electric hand mixer or a stand mixer with a whisk attachment, begin whipping on medium-high speed. You are looking for a transformation: the liquid will transition into a thick, frothy, pale cream. This process typically takes three to five minutes.
Phase 3: The Emulsification (Minutes 5–8)
Once the evaporated milk has reached a "stiff peak" stage, gradually pour in the sweetened condensed milk while continuing to whisk at a lower speed. This step must be done carefully to ensure the heavy condensed milk does not deflate the air you have just incorporated.
Phase 4: The Acidification (Minutes 8–10)
Slowly stream in the fresh lemon juice. As the acid hits the milk proteins, you will notice the mixture thickening almost instantly. Whisk just until the mixture is uniform.
Phase 5: The Set (8–12 Hours)
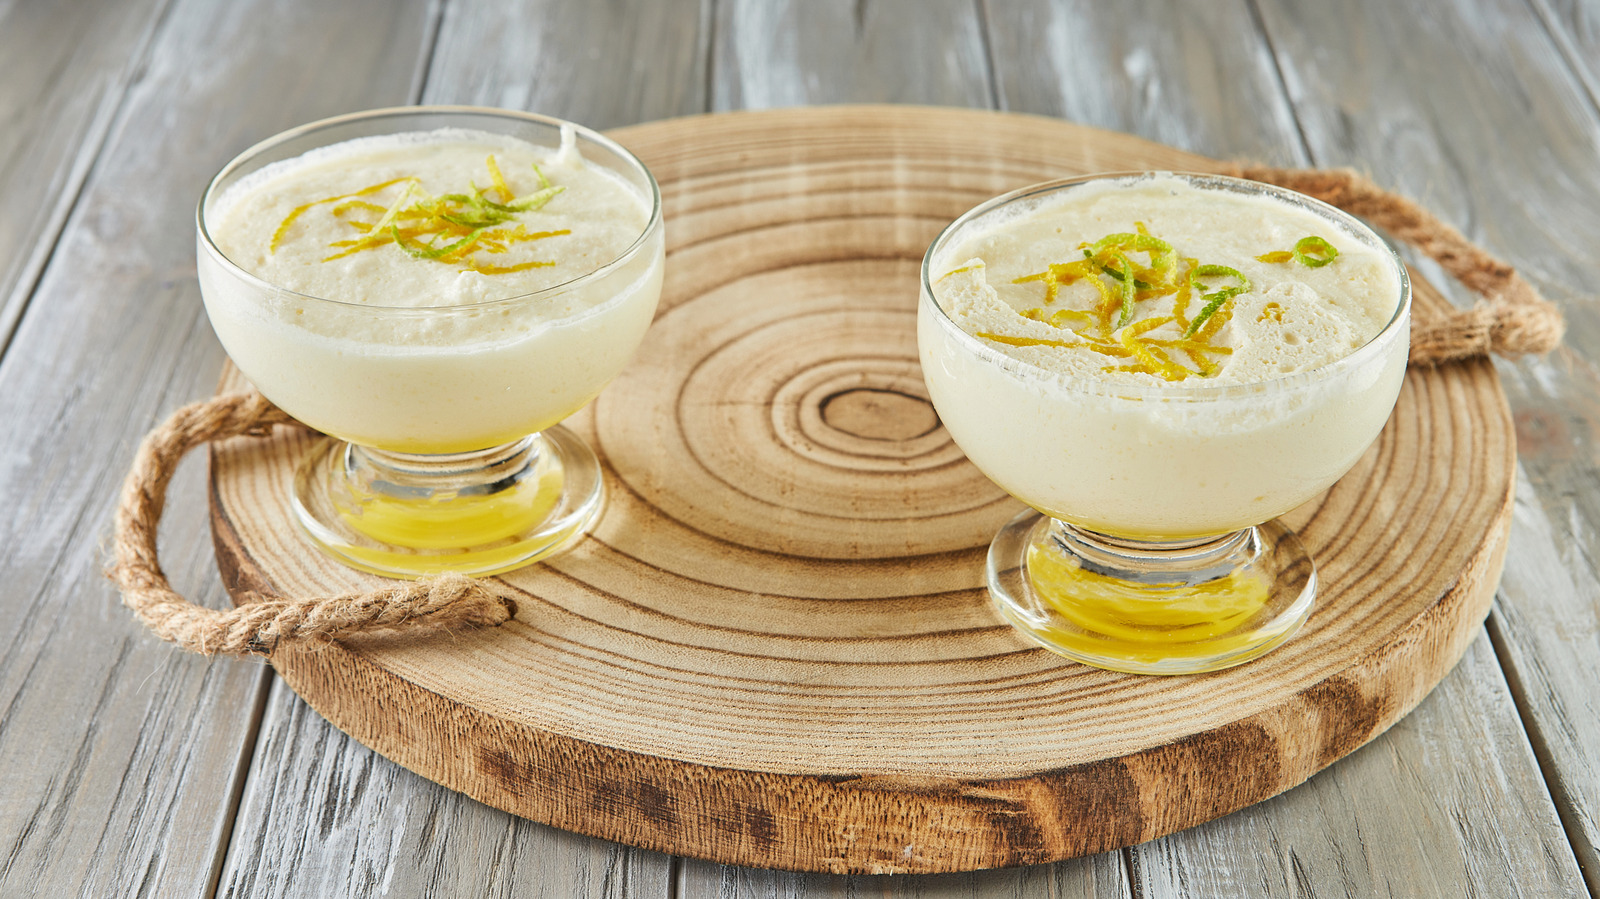
Pour the mixture into individual ramekins or a single glass serving dish. Cover with plastic wrap and move to the refrigerator. While some might be tempted to serve it after a few hours, a full overnight rest (at least 8 to 12 hours) is essential for the proteins to fully bond, resulting in a clean, smooth slice or scoop.
Supporting Data: Why This Method Works
Food science experts note that the stability of this mousse is rooted in the "denaturation" of milk proteins. By whipping the cold evaporated milk, you create a protein-based foam. When the acidic lemon juice is introduced, the pH of the mixture drops, causing the proteins in the milk to coagulate or "clump" together in a controlled manner. This creates a matrix that traps the air bubbles created during the whipping phase, effectively creating a "cold-set" custard.
Furthermore, the high sugar content of the condensed milk prevents the formation of large ice crystals, ensuring the mousse remains smooth and creamy rather than grainy or icy, even when refrigerated for extended periods.
Culinary Implications and Professional Perspective
This method represents a significant shift in home baking, signaling a move toward "smart cooking"—the art of using convenience products in high-end applications.
"The democratization of dessert is what we are seeing here," says culinary consultant Julianna Thorne. "Traditional mousse is an expensive, time-consuming endeavor that yields high-stress results. This three-ingredient approach removes the fear of failure. It teaches the home cook about the relationship between acidity and dairy, which is a foundational principle of pastry arts."
However, professionals emphasize that quality remains paramount. While the method is simple, the flavor profile is entirely dependent on the quality of the lemon juice. "Bottled juice contains preservatives and often lacks the aromatic essential oils found in the skin and juice of a fresh lemon," Thorne adds. "If you want a dessert that tastes like a high-end bistro offering, stick to freshly squeezed fruit."
Enhancing Your Mousse: Creative Upgrades
While the base recipe is impeccable on its own, it serves as a blank canvas for creative expression. Consider these professional-grade garnishes to elevate your presentation:
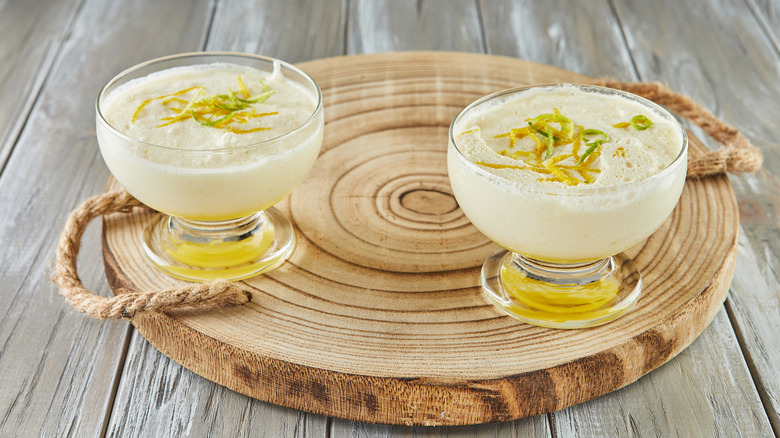
- The Citrus Crunch: Top with candied lemon peels or a dusting of finely grated lemon zest. The bitter oils in the zest provide a necessary counterpoint to the creamy sweetness of the mousse.
- The Herbal Note: A small sprig of fresh mint or basil adds a sophisticated, aromatic finish that pairs exceptionally well with the tart lemon flavor.
- Nutty Textures: Chopped, toasted pistachios provide a salty, earthy crunch that balances the smooth, airy texture of the dessert.
- Berry Contrast: Fresh blueberries or a raspberry coulis can add a pop of color and a secondary acidic note, creating a "citrus-berry" flavor profile that is classic in professional pastry menus.
Troubleshooting Common Issues
Even with a simple recipe, precision is key. Here are the most common pitfalls and how to avoid them:
- The Mousse Won’t Thicken: This is almost always due to the temperature of the evaporated milk. If your kitchen is warm, the milk will not whip. Ensure your equipment is chilled.
- The Texture is Grainy: This usually occurs if the mixture was over-whipped after the lemon juice was added. The protein coagulation can "break" if agitated too aggressively once the acid is introduced. Mix until just combined.
- The Flavor is Too Sweet: If you find the balance off, increase the lemon juice slightly, or add a pinch of fine sea salt to the mixture. Salt is an incredible flavor enhancer that cuts through sugar and highlights the brightness of the citrus.
Conclusion: A New Standard for Home Desserts
The evolution of home cooking is defined by the ability to do more with less. By utilizing the scientific properties of pantry staples, this lemon mousse recipe proves that culinary excellence is not always about the complexity of the method, but the understanding of the ingredients. Whether you are hosting a formal dinner party or simply seeking an after-dinner indulgence, this three-ingredient wonder offers a foolproof path to a sophisticated, restaurant-quality dessert.
As we continue to navigate the demands of modern life, the importance of "effortless luxury" in the kitchen cannot be overstated. By mastering this simple, science-backed technique, you are not just making a dessert—you are reclaiming your time without sacrificing the quality of your culinary creations.