
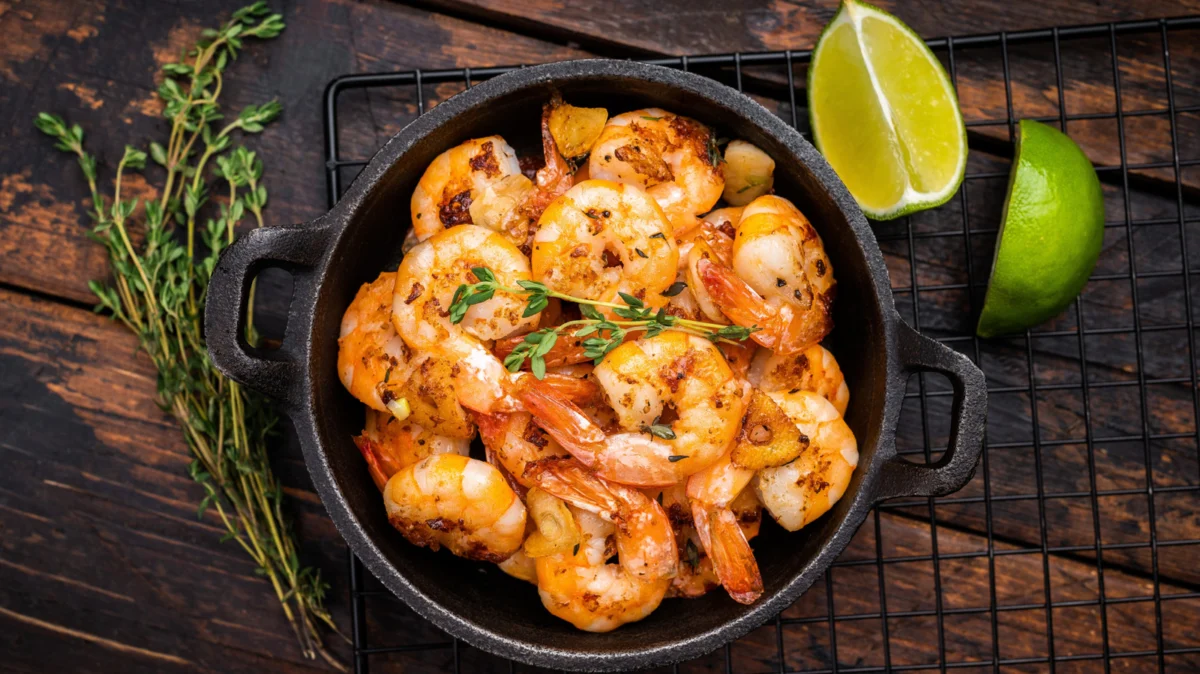
Shrimp is the unsung hero of the modern kitchen. Celebrated for its lightning-fast cooking time and remarkable versatility, it serves as the foundation for everything from a casual weeknight shrimp burger to an elegant, velvety bisque. Yet, despite its popularity, many home cooks struggle to move beyond the "bland and rubbery" phase, failing to unlock the sweet, succulent potential that makes restaurant-quality shrimp so memorable.
Whether you are a seasoned home chef or a novice looking to upgrade your culinary repertoire, mastering the nuances of this shellfish is essential. By treating shrimp as more than just a quick protein fix and instead as a delicate ingredient requiring specific handling, you can elevate your meals ten-fold.
The Foundation: Sourcing and Selection
The quest for a better-tasting shrimp begins long before the pan hits the stove. In the culinary world, the adage "garbage in, garbage out" is never more relevant than with seafood.
Understanding the "Fresh vs. Frozen" Myth
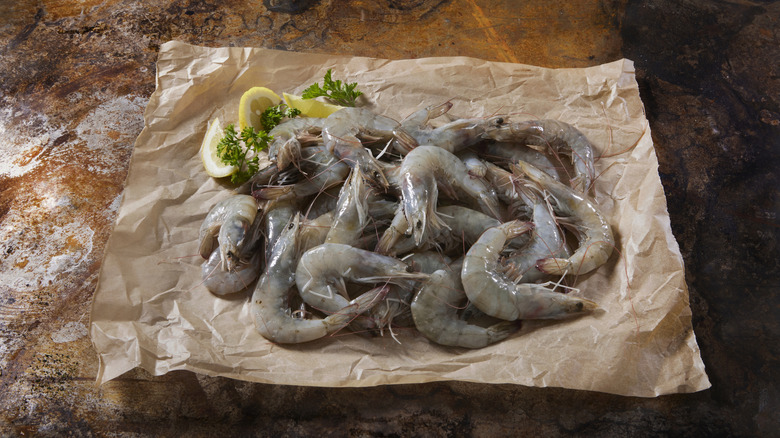
Many consumers gravitate toward the seafood counter, assuming that the "fresh" shrimp displayed on ice is superior to the frozen bags in the freezer aisle. In reality, the vast majority of shrimp sold as "fresh" was previously frozen. Modern flash-freezing technology, employed immediately upon harvest, locks in the texture and moisture of the shrimp at the peak of its quality.
When shopping, prioritize quality over the display case. If you must buy "fresh," trust your senses:
- The Olfactory Test: Any hint of ammonia or an overwhelming "fishy" odor is an immediate red flag indicating spoilage.
- Visual Inspection: Look for firm, translucent flesh. Avoid any shrimp with black spots—a condition known as melanosis—which, while not always indicating rot, signals that the product is past its prime.
- Texture: The shrimp should feel firm, not slimy or limp.
For those living inland, high-quality frozen shrimp is often the superior choice. Look for vacuum-sealed bags with minimal ice crystals. Excessive frost indicates freezer burn, which will degrade the delicate proteins and leave the shrimp tasting flat and dry.
The Chemistry of Success: Mastering the Brine
The secret to the "snap" and juiciness found in high-end restaurant shrimp often lies in a simple, overlooked process: brining. While commonly associated with poultry or pork, brining is transformative for shellfish.
The Science of the Dry and Wet Brine
A dry brine, utilizing the humble pantry staple of baking soda, is a game-changer. When shrimp are tossed with a small amount of kosher salt and a pinch of baking soda, a chemical reaction occurs. The salt draws out surface moisture to season the meat, while the alkaline nature of the baking soda helps the shrimp retain its internal moisture and creates a firmer, more "snappy" texture.
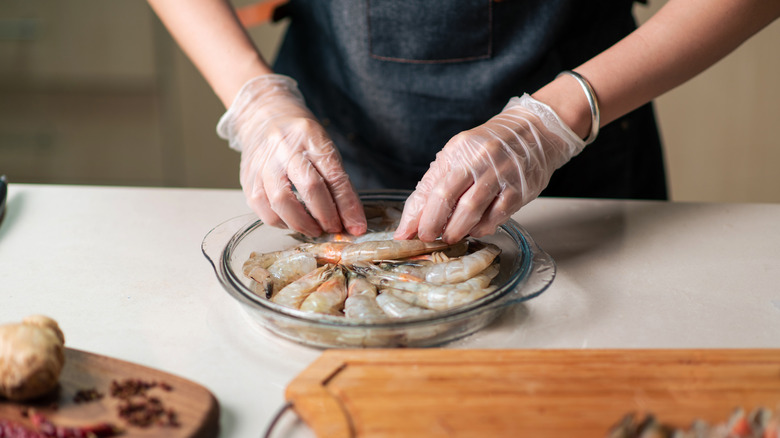
Pro-Tip: For every pound of shrimp, use one teaspoon of kosher salt and a quarter-teaspoon of baking soda. Let this mixture rest for 15 minutes before cooking. If you prefer a wet brine, a 30-minute soak in a solution of one tablespoon of kosher salt per quart of water will yield similar, succulent results.
Strategic Seasoning and Marination
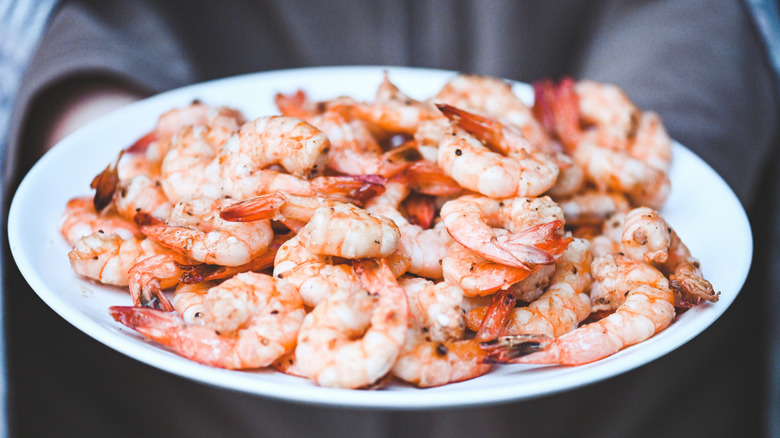
Because shrimp possess a mild, sweet profile, they act as a "culinary canvas." However, this lack of inherent pungency means they require intentional seasoning.
The Timing of Flavor
The timing of your seasoning is as important as the spices themselves.
- Dry Spices: These are sturdy and can be applied before the cooking process, allowing the flavors to penetrate the surface during the searing or grilling phase.
- Fresh Herbs: Delicate herbs like parsley, basil, or chives are volatile. High heat will incinerate their essential oils, turning them bitter. Always fold these into your dish at the final moment of assembly.
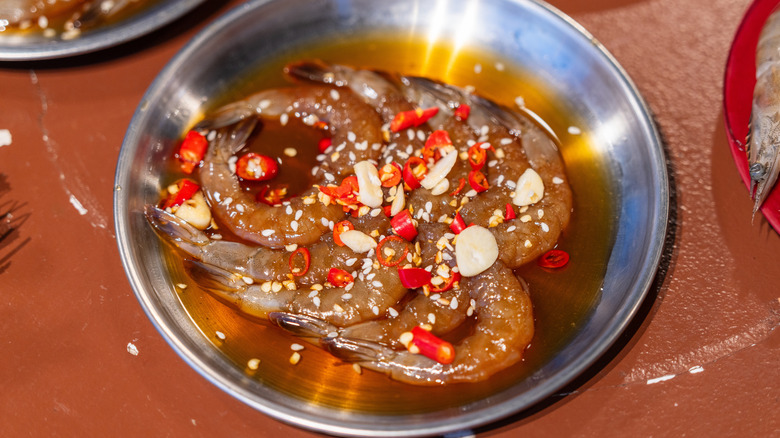
- The Acid Factor: Marinades containing citrus or vinegar provide a bright counterpoint to the sweetness of the meat. However, do not exceed 30 minutes of marination. The acid acts as a denaturing agent; if left too long, it will effectively "cook" the shrimp in the bowl, leaving the texture chalky and tough.
The Shell-On Advantage
In the haste to simplify dinner, many cooks discard shells immediately. This is a missed opportunity for flavor development. Whenever your recipe allows, cook the shrimp with the shells on. The shell acts as a protective shield, preventing the meat from overcooking while simultaneously infusing the flesh with a deep, umami-rich, briny essence that is impossible to replicate once the shell is removed.
Furthermore, the "waste" becomes a resource. Never throw away those shells. Stashing them in a freezer bag allows you to build a collection of aromatics that, when boiled with water and mirepoix, creates a professional-grade seafood stock.
The Power of Citrus
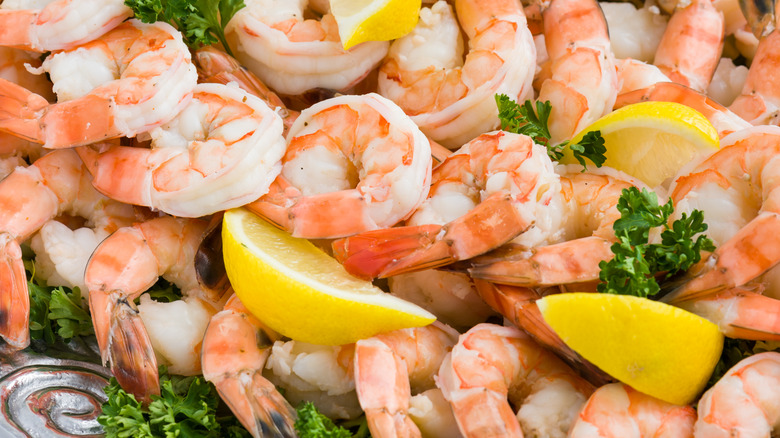
Citrus is to shrimp what salt is to steak—a flavor enhancer that triggers the palate. A squeeze of lemon, lime, or even blood orange at the end of the cooking process does more than add acidity; it brightens the natural sugars of the shellfish.
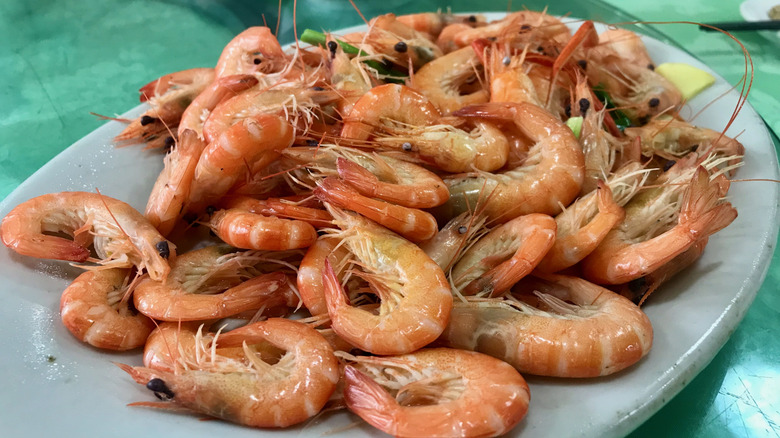
To maximize this, use both juice and zest. The zest contains the concentrated essential oils of the fruit, offering a aromatic punch that the juice alone cannot provide. Always use a microplane to ensure you capture only the colorful flavedo, avoiding the bitter white pith.
The Importance of the Sauce
Shrimp are rarely served in a vacuum. By pairing your protein with a thoughtfully constructed sauce, you can transition a simple dish into a cohesive culinary experience.
- Dipping: Classic cocktail sauce can be elevated with a touch of wasabi or freshly grated horseradish.
- Enrobing: Creating a pan sauce—such as a white wine, butter, and garlic reduction (the foundation of scampi)—allows the shrimp to finish cooking in the sauce itself. This ensures that every bite is saturated with flavor.
The Final Threshold: Avoiding the Rubber Trap
The most common error in shrimp preparation is overcooking. Shrimp are remarkably lean and contain little connective tissue; once the internal temperature hits 145°F, they transition from succulent to rubbery in a matter of seconds.
Visual and Technical Indicators:
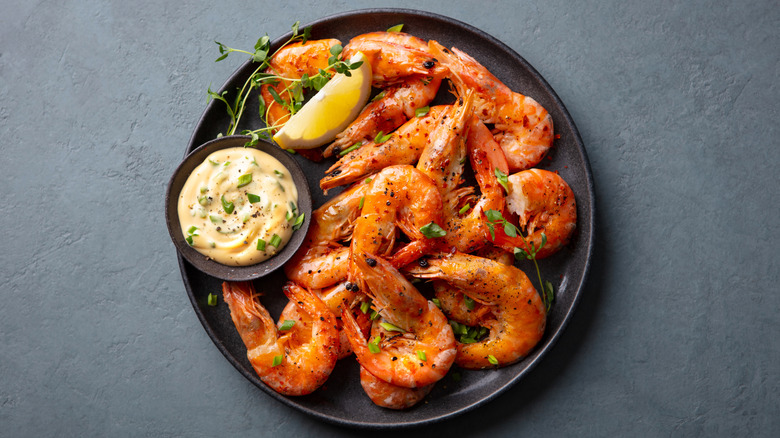
- The "C" vs. "O" Rule: A perfectly cooked shrimp will curl into a loose "C" shape. If it has tightened into a complete, closed "O," it has been left on the heat for too long.
- Opacity: Watch the flesh turn from translucent to opaque. As soon as the color shifts, remove them from the heat immediately.
- Residual Heat: Remember that the cooking process continues after removal from the pan. Use an instant-read thermometer to pull the shrimp at 140°F, allowing the carry-over heat to bring it to the safe USDA-recommended 145°F.
Implications for the Home Kitchen
Implementing these eight steps—sourcing wisely, brining for texture, timing your seasoning, leveraging the shells, utilizing citrus, finishing with sauce, and monitoring internal temperature—shifts your approach from passive cooking to active culinary engineering.
By respecting the unique biological properties of shrimp, you move beyond the "quick meal" mentality. You begin to understand that shrimp is a sophisticated ingredient capable of holding its own in the most complex flavor profiles. Whether you are hosting a dinner party or preparing a Tuesday night meal, these techniques ensure that your shrimp is consistently, reliably, and undeniably delicious.