
In the chaotic, high-stakes environment of Splatoon Raiders, every decision you make before stepping onto the battlefield dictates your survival. Following your initial introductory raids, the game presents you with a pivotal choice: selecting your primary Gadget Tank. While the game provides the flexibility to swap these units later, the initial pick serves as the foundation for your early-game progression. Understanding the nuances of the Speed, Power, and Technical tanks is essential for any player looking to climb the ranks efficiently.
The Strategic Importance of the Gadget Tank
At its core, your Gadget Tank acts as the backbone of your combat capabilities. Unlike standard weaponry, which handles your primary ink output and movement, your Gadget Tank determines how you manipulate the battlefield, control crowds, and mitigate danger.
Many new players mistakenly view the initial tank choice as a permanent commitment. However, the developers at Nintendo have built in a degree of fluidity; you are not locked into your starting choice. That said, the early game is often where players struggle with resource management and Salmonid aggression. For this reason, selecting the most versatile tank early on is the key to creating a sustainable playstyle that minimizes risk while maximizing offensive output.
The Case for the Technical Gadget Tank
While each of the three archetypes offers unique advantages, our analysis suggests that the Technical Gadget Tank is the objectively superior starting choice for the majority of players.
The Shot Pot Advantage
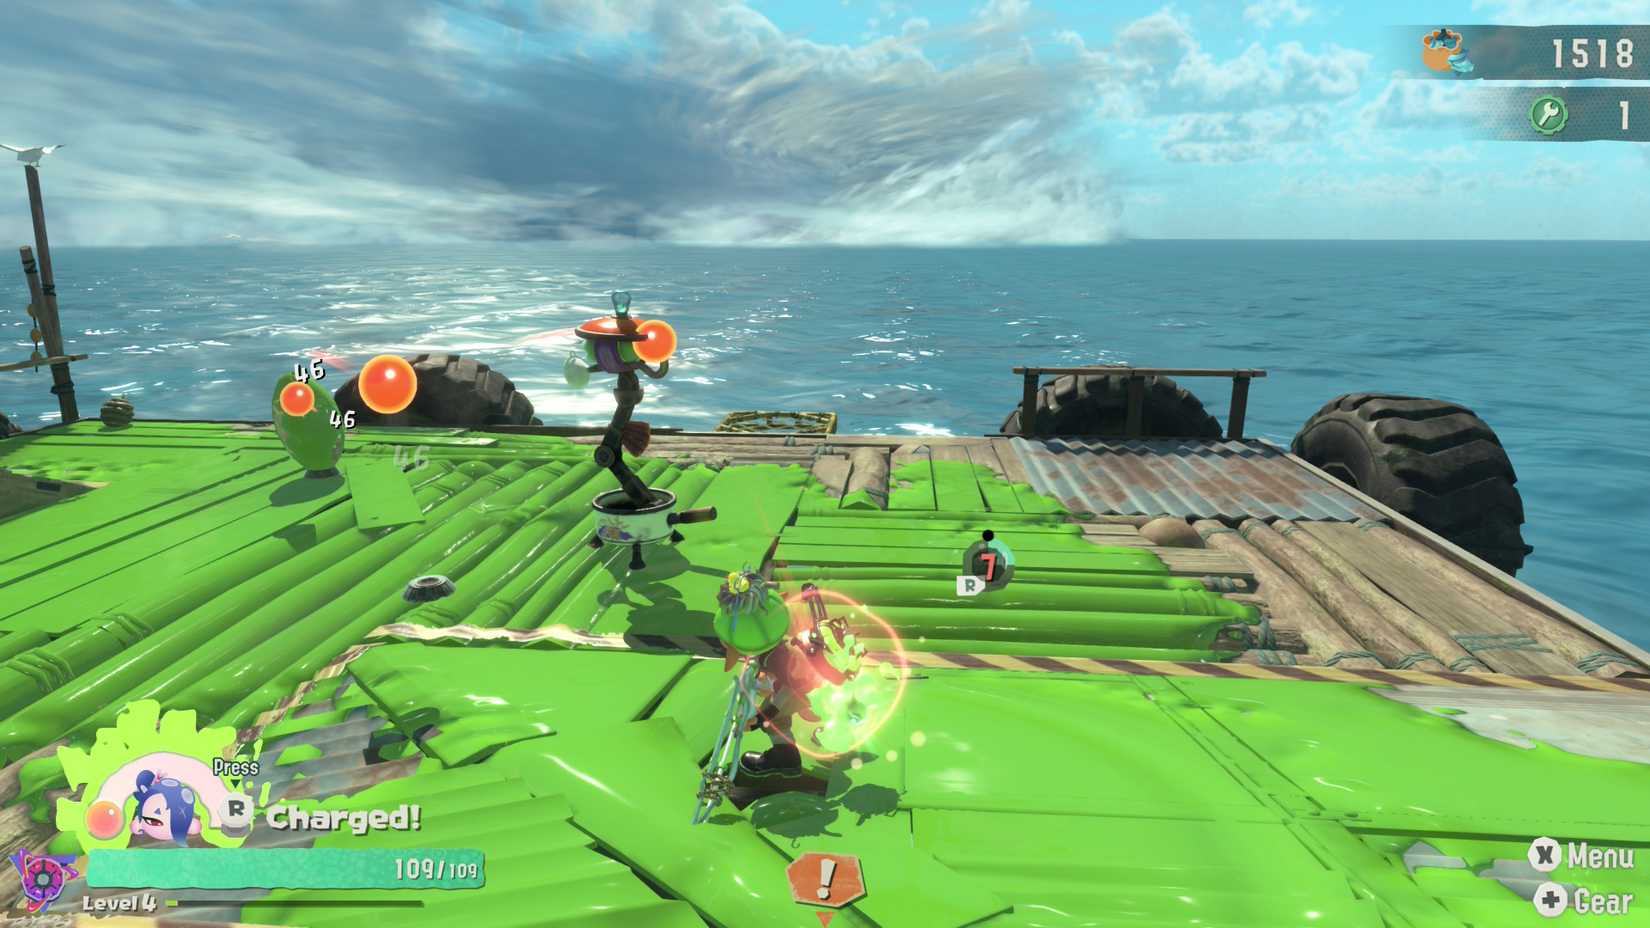
The Technical tank’s primary appeal lies in its signature starting gadget: the Shot Pot. In a game where positioning is everything, the Shot Pot acts as a stationary, autonomous turret. It lobs ink globs at the nearest enemy with surprising accuracy.
Unlike the gadgets tethered to the Power or Speed tanks—which are typically single-use abilities with punishingly long cooldowns—the Shot Pot operates on a cycle. It lingers on the field for several seconds, providing constant pressure. By the time the turret disappears, your cooldown timer is often nearly reset, allowing you to redeploy it almost immediately. This "set-it-and-forget-it" functionality allows you to focus on movement and weapon-based combat while the Shot Pot clears your peripheral vision.
Comparing the Competition: Power vs. Speed
To understand why the Technical tank reigns supreme, we must look at why the alternatives often struggle in the early game:

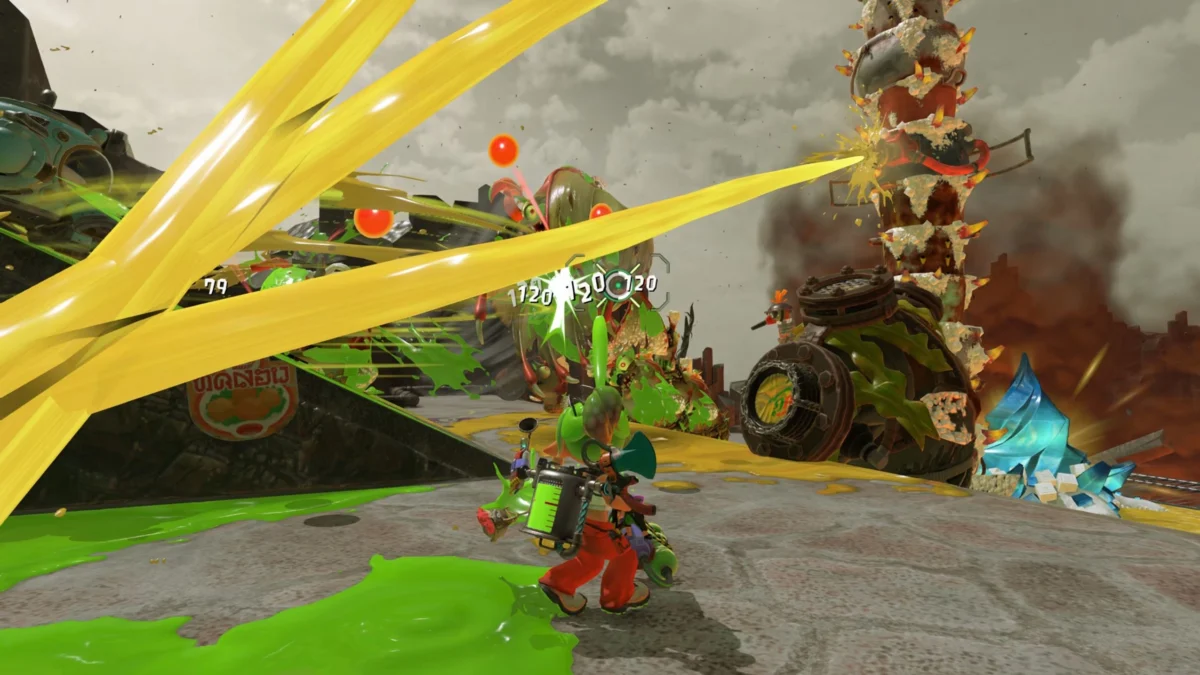
- The Power Tank (Splatter Hatchet): This tank is designed for high-risk, high-reward encounters. The Splatter Hatchet allows players to charge forward in a straight line, slicing through enemies. While the damage output is undeniably high, it forces the player into the thick of the fray. If your aim is off, or if a surprise wave of Salmonids swarms you from the flanks, you are left stranded in a vulnerable position with no defensive recourse.
- The Speed Tank (Blast Boot): The Speed tank offers mobility, but at the cost of utility. The Blast Boot enables a high-jump stomp that deals area-of-effect damage. While useful for short-range escapes, the limited radius of the stomp makes it inefficient against large, organized hordes of enemies. It lacks the sustained area control required for the more difficult, later-stage dungeons.
Advanced Tactics: Beyond the Starting Gadgets
As you progress deeper into Splatoon Raiders, the Technical tank continues to outclass its peers through sheer utility and field control. While the Power tank gains access to high-damage combinations like the Splatellites and the Spinwheel, these gadgets remain reactive rather than proactive.
The Technical tank, conversely, rewards foresight. By utilizing items like the Bombloon, players can create complex traps. You can scatter these balloons across a choke point, link them together, and detonate them simultaneously for a massive, screen-clearing ink explosion. This allows you to manage entire waves of enemies without ever entering their attack range, effectively acting as your own support line.
Managing Your Arsenal: How to Change Tanks
Should you decide that your initial choice no longer fits your evolving playstyle, transitioning to a new tank is a straightforward, albeit regulated, process.
The Logistics of Switching
To swap your gear, navigate to the ship base—the game’s central hub—during the pre-mission phase. Open your gear menu by pressing the Plus button on your controller. From there, select the "Tanks" tab. Here, you can cycle through your unlocked tanks and swap them at will.
It is vital to note that this process is restricted by game design: you cannot modify your tank or gadget loadout once a raid has commenced. This restriction is intended to force players to commit to a strategy before entering a dungeon, rewarding those who scout mission objectives beforehand.
The Progression Dilemma
One of the most critical aspects of tank management is the way experience points are handled. While your general skill points (used for broad upgrades) apply globally across all tanks, experience points are tank-specific.
If you decide to switch to a new tank halfway through the game, you will find that it starts at level one. You must "grind" to level up the new unit. To expedite this, we recommend:
- Repeating high-multiplier dungeon stages.
- Focusing on crystal shattering. Shattering crystals before a level concludes provides a significant XP multiplier that can jump-start a new tank’s level.
Implications for the Meta
The current meta in Splatoon Raiders is heavily skewed toward control-oriented builds. While early community discussions focused on the raw DPS (damage per second) of the Power tank, the high-level community has shifted toward the Technical tank.
This shift implies a fundamental truth about Splatoon Raiders: the game is not just about killing Salmonids; it is about managing the ink coverage of the map. By prioritizing tanks that provide consistent field coverage, players are finding it significantly easier to navigate the treacherous, ink-heavy arenas that define the end-game content.
Official Stance and Developer Intent
Nintendo EPD has kept a relatively tight lid on the balancing patches for Splatoon Raiders, though recent hotfixes suggest they are monitoring the pick rates of these three tanks. In a brief statement during the launch window, developers hinted that they designed the tanks to represent "the three pillars of combat: aggression, mobility, and intelligence."
However, they acknowledged that "the intelligence-based [Technical] path requires a higher degree of foresight," implying that while it is currently the most effective for survival, it is intended to have a steeper learning curve than the straightforward Power tank. Players should expect future content updates to potentially buff the mobility of the Speed tank or the survivability of the Power tank to ensure all three playstyles remain competitive in the long run.
Final Verdict
If you are a newcomer to the Splatoon universe, or simply looking for the most efficient way to clear early dungeons, the Technical Gadget Tank is your best bet. Its ability to create autonomous damage zones, control the battlefield from a distance, and provide reliable support allows you to master the mechanics of the game without being overwhelmed by the game’s faster-paced, high-aggression enemies.
Take your time at the ship base, experiment with your loadouts, and remember: in the world of Splatoon Raiders, the most dangerous player on the field isn’t necessarily the one with the biggest weapon—it’s the one who controls the space around them. Happy raiding.