
In the high-stakes world of real estate, the first showing rarely happens at the front door. Instead, it occurs on the screens of potential buyers scrolling through listing portals. Whether you are selling a modest two-bedroom townhouse in Tulsa or a sprawling family estate in Fresno, professional photography acts as the digital handshake of your home. It is not merely a tool for documentation; it is an exercise in aspiration.
High-quality, intentional imagery helps buyers visualize a life within your four walls. However, many sellers focus so heavily on the price point or the curb appeal that they overlook the critical preparation required to make a home "camera-ready." Achieving that perfect, magazine-worthy shot requires a strategic approach to organization, staging, and lighting.
The Psychology of the Digital First Impression
Most home searches today begin with a rapid-fire assessment on a mobile device. Statistics consistently show that listings with professional, well-staged photos receive significantly more engagement, higher click-through rates, and often command a higher final sale price. The goal of preparation is not to render a home sterile or unrecognizable, but rather to distill its best features into a compelling narrative.
Corey Kline of Corey Anthony Photography summarizes the philosophy of preparation perfectly: “The easiest way I tell homeowners to prepare a home for photography is to make it feel like someone lives there, without feeling ‘lived in.’ Think about a luxury hotel room. Everything has a place. It’s clean, comfortable, and inviting. My general rule is: if it doesn’t add value to the space, take it out. You don’t want the home to feel empty; you want it to feel intentional.”
Chronology of a Successful Shoot
Preparing a home for photography is not a task for the morning of the shoot; it is a multi-day process that begins with a shift in perspective.
Phase 1: The Preliminary Audit (One Week Out)
Walk through your home as if you were a stranger seeing it for the first time. Use your smartphone to take photos of every room from the corners and doorways. These angles often mimic how a wide-angle professional lens will capture the space. Look for "visual noise"—cluttered countertops, overflowing bookshelves, or tangled cords—that you might have become "blind" to after years of residency.
Phase 2: The Purge and Declutter (Three Days Out)
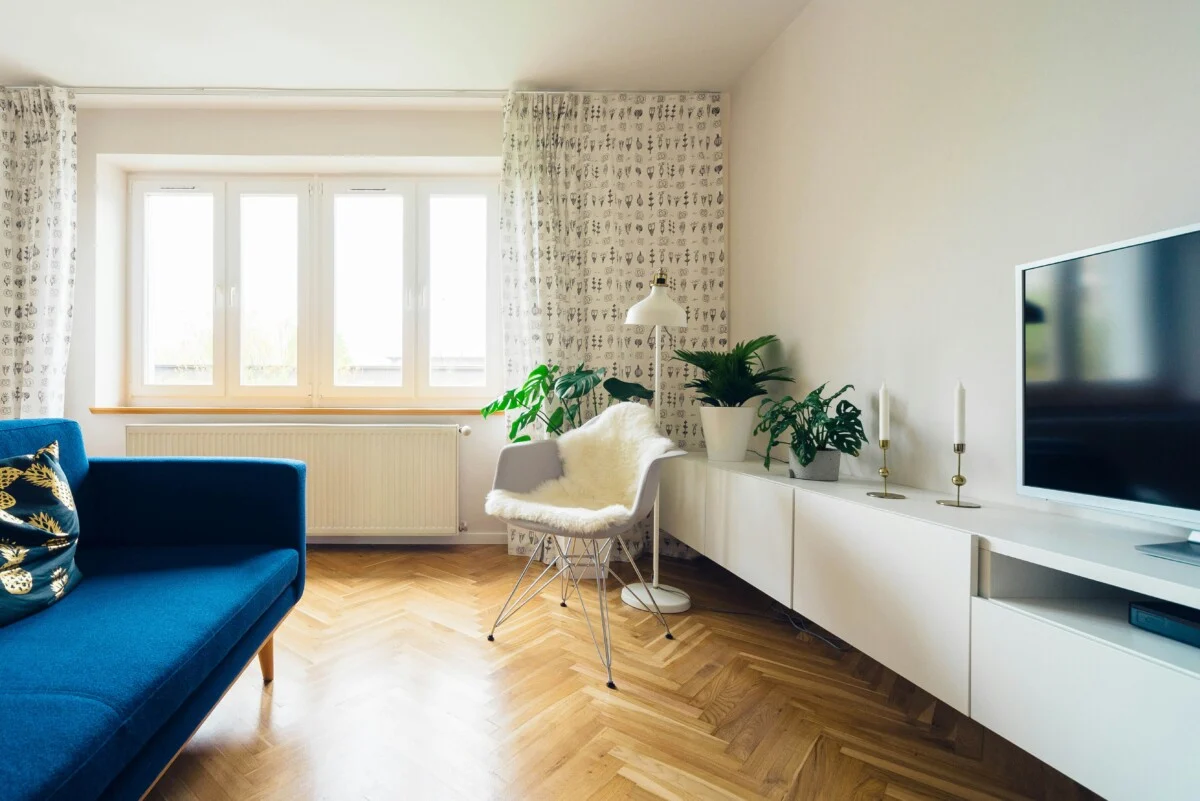
Decluttering is the most vital step in the process. A clean home can still appear cramped if every surface is burdened with excess items. Begin by removing personal items, magnets from the fridge, and small appliances. This "subtraction" allows the room’s dimensions, natural light, and architectural features to take center stage.
Phase 3: The Final Polish (Day of the Shoot)
This is the execution phase. Ensure that all lights are turned on, blinds are adjusted to a uniform height, and any remaining pet items (beds, bowls, litter boxes) are entirely removed from the property.
The Role of Depersonalization and Staging
While the goal is to make a home inviting, there is a fine line between "cozy" and "cluttered with personality." Buyers need a blank canvas to project their own dreams, memories, and furniture layouts.
Josh Phoenix, co-founder of Phixer, emphasizes the necessity of objectivity: “If a home is too personalized, it can hinder that imagination. We recommend removing personal photos, highly stylistic furniture, and unique personal items. Hiring a professional home stager is incredibly helpful because they maximize the purpose of each room for buyers and notice personalization you might overlook.”
Depersonalization serves a dual purpose: it aids in the buyer’s psychological transition into the space, and it protects the seller’s privacy by removing diplomas, school schedules, and sensitive documents from public view. For vacant homes, the impact of professional staging cannot be overstated. A stager can define the function of awkward spaces, turn an empty bedroom into a home office, and provide a sense of scale that an empty room lacks.
Supporting Data: The Impact of Professional Presentation
The correlation between high-quality imagery and real estate success is supported by both industry observation and consumer behavior metrics.
- Click-Through Rates (CTR): Listings with high-definition, professionally edited photos see an average of 40% more interest than those with amateur or smartphone photography.
- Time on Market: Homes that are properly staged and professionally photographed tend to spend 10 to 15 fewer days on the market compared to their unstaged, cluttered counterparts.
- The "Scroll-Stop" Factor: In a crowded feed, the quality of the lead photo (usually the front exterior) is the primary determinant of whether a user clicks to view the rest of the gallery.
Room-by-Room Checklist for Maximum Impact
To ensure nothing is missed, follow this standardized checklist before the photographer arrives:
| Area | Preparation Focus |
|---|---|
| Entryway | Clear shoes, coats, and mail; ensure the area is bright and inviting. |
| Living Room | Hide all cables; straighten pillows; remove bulky furniture blocking views. |
| Kitchen | Clear all counters (including sponges and soap); empty the sink; polish appliances. |
| Dining Room | Minimalist place setting or empty table; straighten all chairs. |
| Bathrooms | Close toilet lids; clear all personal toiletries; hang fresh, folded towels. |
| Bedrooms | Neutral, crisp linens; clear nightstands; remove items from under the bed. |
| Office/Flex Space | Hide paperwork and tech accessories; highlight the room’s specific utility. |
Official Perspectives: Expert Tips for Success
The professionals who capture these homes have seen it all. Their collective advice points toward consistent themes: lighting, sightlines, and the removal of distractions.
Willis Aybar of Open Doors 360 notes the importance of consistency: “Turn on every lamp and overhead light and open all the blinds to the same height. Mismatched blinds are the single most common thing we end up fixing in post-production. If you do nothing else, do the counters and the blinds. That makes the difference between a listing that scrolls past and one that gets saved.”
Furthermore, the team at Doorbell highlights the importance of "sightlines." By pulling furniture slightly away from walls and ensuring there is a clear path from the entry to the windows, you create a sense of flow and openness that translates beautifully into wide-angle photography.
Curb Appeal: The Lead Image
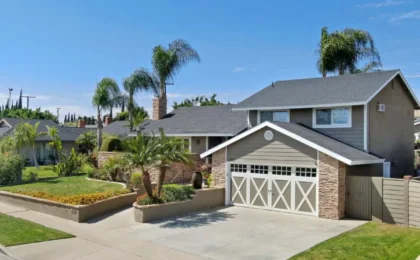
The exterior of your home is the digital "cover" of your listing. If the exterior photo does not pique interest, the interior gallery may never be seen. Several days before the shoot, ensure the lawn is mowed, hedges are trimmed, and any seasonal yard debris is cleared.
The "hidden" details matter here as well. Coiling hoses, storing garbage bins in the garage, and removing children’s toys from the yard are essential. A well-manicured exterior signals to the buyer that the interior has likely been maintained with the same level of care.
Implications for Sellers
Ultimately, the process of preparing a home for photography is a precursor to the real estate transaction itself. It forces the seller to detach from the home as a residence and view it as a product. While the process can be daunting—particularly if you are still living in the home during the sale—the effort directly translates to higher interest and more competitive offers.
When a home is presented with professional intentionality, it minimizes the "mental friction" a buyer experiences. They don’t have to look past the mess, the clutter, or the overly personal decor; they can simply focus on the potential of the space. By investing time in deep cleaning, decluttering, and strategic staging, you are not just preparing for a photoshoot—you are laying the groundwork for a successful, efficient sale. Remember: in the modern real estate market, your photos are your most powerful marketing asset. Make them count.