
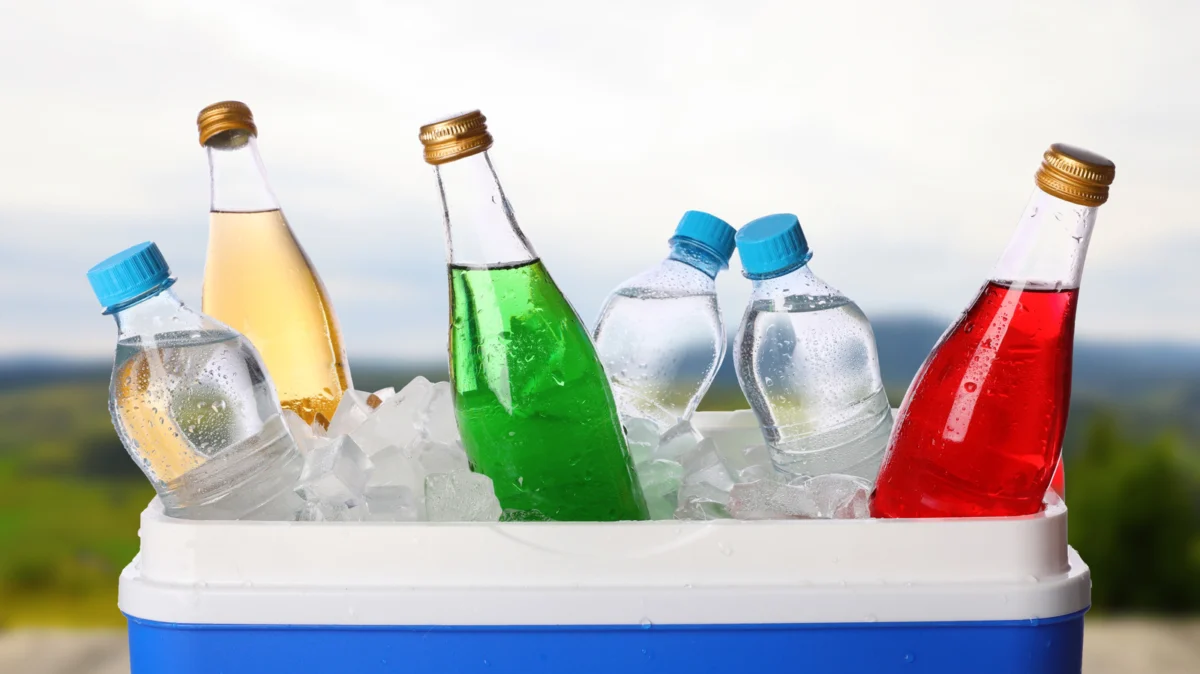
The sweltering heat of mid-July offers the perfect backdrop for beach days, park picnics, and backyard barbecues. However, the success of any outdoor excursion is often tethered to one critical piece of equipment: the portable cooler. We have all experienced the crushing disappointment of reaching into a cooler mid-afternoon, expecting a crisp, refreshing beverage, only to find a lukewarm "ice soup"—a watery graveyard where once-frozen snacks now float in a tepid, salty pool.
While high-end, roto-molded coolers promise "bear-proof" insulation and days of temperature retention, the reality for most casual outings is that heat finds a way. Fortunately, thermodynamics provides a simple, accessible solution that requires no expensive equipment or specialized gear. The secret to maintaining arctic temperatures in your cooler is, ironically, to overpack it.
The Core Principle: Eliminating the Air Gap
The primary reason coolers fail during the day is not poor insulation, but the presence of air. According to the second law of thermodynamics, heat energy naturally migrates from areas of higher temperature to areas of lower temperature until equilibrium is reached. In the context of a cooler, the ambient air outside is significantly warmer than the interior environment.
When a cooler is only partially filled, the remaining space is occupied by air. Every time the lid is opened to retrieve a snack or drink, the cold air inside is displaced by the warm, humid air of the outside environment. Once the lid is closed, the cooler must work to chill that newly introduced warm air, a process that accelerates the melting of your ice supply. By eliminating the "empty" space—the pockets of air—you drastically reduce the rate of heat exchange. A fully packed cooler creates a thermal mass that is far more resistant to temperature fluctuations than a cooler containing half-air and half-ice.
Chronology of a Cooler Failure: Why Time is the Enemy
Understanding how a cooler degrades over time is essential for anyone planning a long-duration event. The process typically follows a predictable timeline:
- The Loading Phase (Hour 0): You pack your cooler in the morning. If you haven’t pre-chilled the unit, the internal walls of the cooler absorb heat from the items inside.
- The Thermal Shock (Hour 1-2): As you travel to your destination, the vibration and movement of the vehicle can cause shifting. If the cooler is not full, the air inside begins to circulate, accelerating the melting process along the surface area of the ice.
- The Tipping Point (Hour 3-4): Once the ice begins to melt into water, the rate of cooling shifts. While water is a good conductor, it is significantly less effective at maintaining a sub-freezing environment than solid ice. As the air pockets grow larger, the influx of outside air during lid openings becomes more pronounced.
- The "Soup" Phase (Hour 5+): By late afternoon, the thermal integrity of the cooler is compromised. Without a high ice-to-content ratio and minimal air space, the ambient temperature inside rises rapidly, leading to the dreaded "cooler soup" phenomenon.
Supporting Data: Strategies for Thermal Optimization
To combat these thermodynamic realities, experts suggest a multi-pronged strategy that goes beyond simple packing.
The Frozen Water Bottle Hack
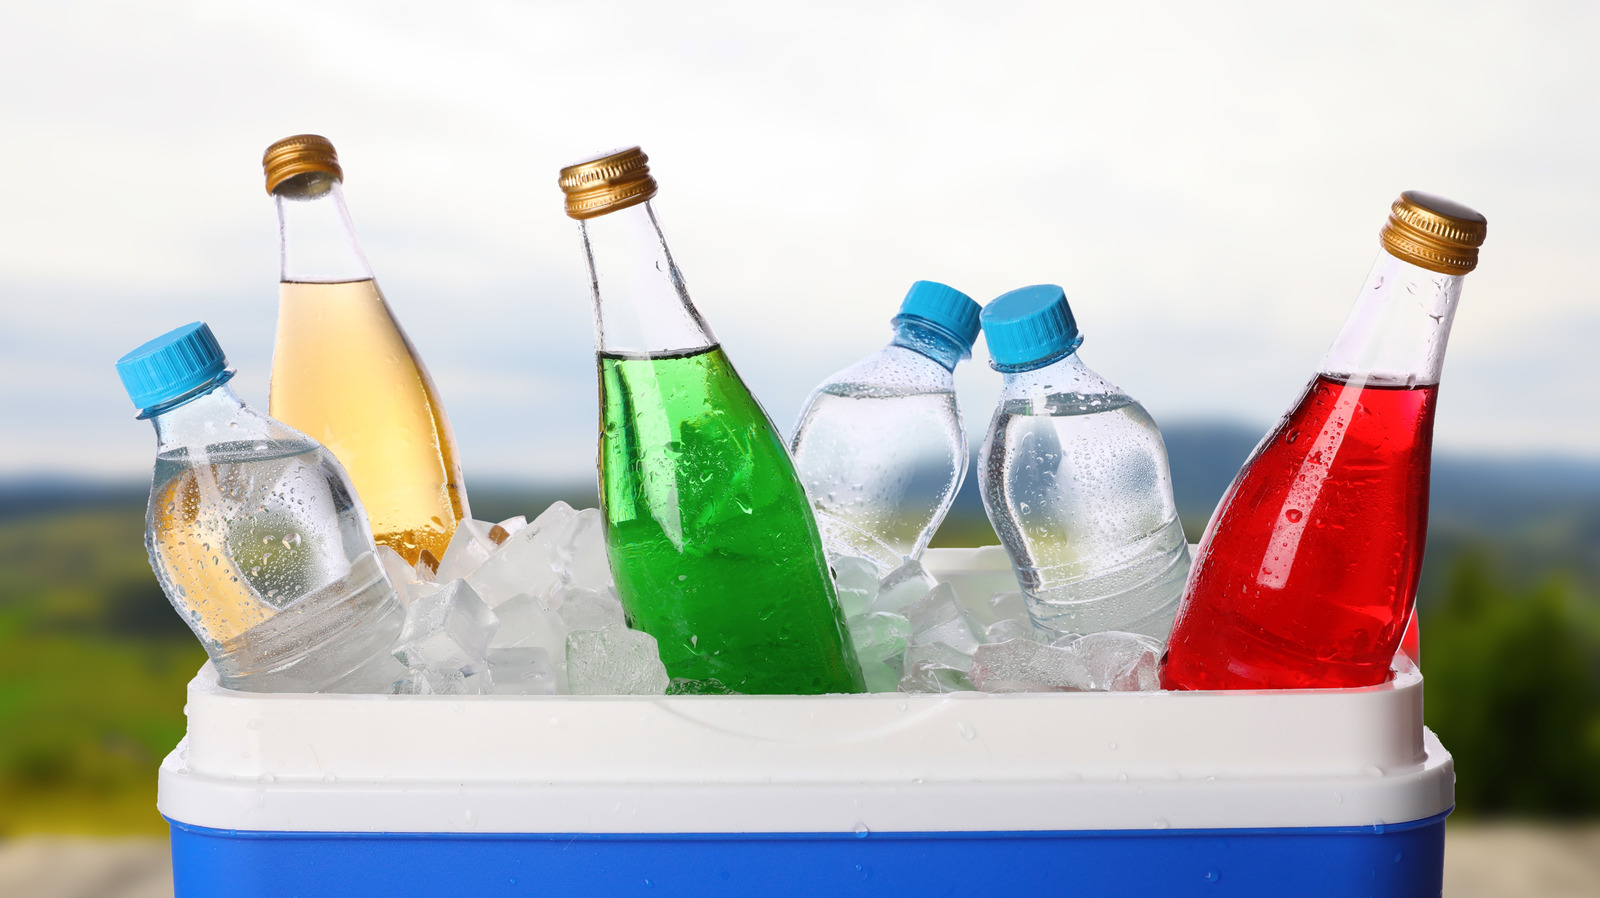
One of the most effective ways to fill dead space is by utilizing frozen water bottles. These serve a dual purpose: they act as long-lasting, heavy-duty ice packs that do not create a watery mess as they melt, and they provide a cold, refreshing drink once they eventually thaw. Unlike loose ice cubes, which have a high surface-area-to-volume ratio, large blocks of frozen water melt much slower, extending the longevity of your cooling system.
The Importance of Surface Area
Physics dictates that smaller ice cubes have a higher surface-area-to-volume ratio, meaning they melt faster because more of the ice is exposed to the ambient temperature. If you have the luxury of freezer space, consider creating "jumbo" ice blocks using Tupperware or silicone molds. Large, singular blocks of ice are significantly more efficient than bags of store-bought crushed ice.
The 2-to-1 Rule
A common benchmark among outdoor enthusiasts and catering professionals is the "2-to-1 rule." For every two units of volume occupied by food or drinks, there should be one unit of volume occupied by ice. If you are planning an all-day excursion, this ratio should ideally shift toward a higher ice percentage. Filling your cooler two-thirds of the way with ice ensures that you have enough thermal mass to withstand the inevitable temperature spikes caused by opening the lid.
Expert Insights and Practical Application
While the physics are clear, the application requires discipline. "Overpacking" isn’t just about volume; it’s about density. When you pack a cooler, you are essentially creating a localized, insulated bunker.
Pre-Chilling: The Unsung Hero
Before you even think about packing, the cooler itself should be pre-chilled. Storing your cooler in a cold environment overnight—or filling it with a "sacrificial" bag of ice an hour before loading—brings the temperature of the plastic walls down. If you skip this step, the first few hours of your trip are spent cooling the cooler rather than your food, which significantly reduces the effective life of your ice.
Strategic Organization
Not all items should be placed at the bottom. Heavily chilled, stable items (like meat or frozen goods) should be placed at the bottom, as the coldest air sinks. Drinks and quick-access snacks should be placed near the top. By minimizing the time the lid stays open, you retain the internal cold air, further adhering to the goal of preventing thermal exchange.
Implications for Summer Safety
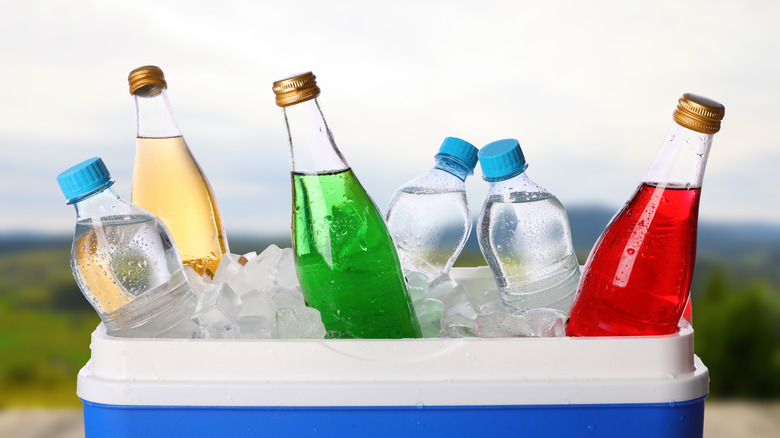
Beyond the convenience of having a cold beverage, the proper maintenance of a cooler is a matter of food safety. According to the USDA, perishable foods—such as meats, poultry, eggs, and salads—should be kept at or below 40 degrees Fahrenheit. When a cooler warms up and becomes an "ice soup," it enters the "danger zone" (between 40 and 140 degrees Fahrenheit), where bacteria multiply rapidly.
By following the simple rule of overpacking and minimizing air gaps, you are not just ensuring that your soda stays cold; you are actively preventing the growth of foodborne pathogens. A well-packed cooler is an essential safety tool, particularly when families are traveling to remote locations where medical facilities or clean water might not be immediately available.
Conclusion: Mastering the Chill
The "simple trick" of filling your cooler to the brim is a testament to the fact that you do not need expensive, high-tech gear to manage temperature effectively. It is a fundamental application of physics: reduce the air, increase the thermal mass, and prioritize large, slow-melting ice sources.
As you prepare for your next summer outing, remember that every square inch of empty space is an invitation for heat to enter. By being intentional with your packing, utilizing frozen water bottles, and maintaining a strict ice-to-content ratio, you can ensure that your refreshments remain at the perfect temperature from the moment you leave home until the sun sets on your day of adventure. Master the space, and you master the chill.