

By Josh Broadwell
Published June 25, 2026
Getting started in Star Fox is a masterclass in deceptive simplicity. At a glance, the core gameplay loop appears straightforward: navigate your Arwing, target incoming hostiles, and unleash a barrage of laser fire. However, as any veteran pilot knows, the Lylat System is not merely a shooting gallery. While the initial missions may feel like a straightforward tutorial, the campaign quickly evolves into a complex web of branching paths, tactical decision-making, and high-stakes survival.
For those looking to ascend from a rookie pilot to an ace, this guide covers the essential strategies—from mastering the Arwing’s mobility to unlocking the secrets hidden within the campaign’s two dozen possible mission routes.
The Strategic Foundation: Understanding the Lylat System
At its core, Star Fox is a rail shooter that rewards precision and environmental awareness. When you first clear the campaign and bring Andross’s war to an end, you haven’t truly finished the game. The true depth of the experience lies in the mastery of its mission structure. Each planet serves as more than just a backdrop; it is a tactical node with optional objectives, hidden routes, and specific criteria for progression.
The Roadmap to Mastery
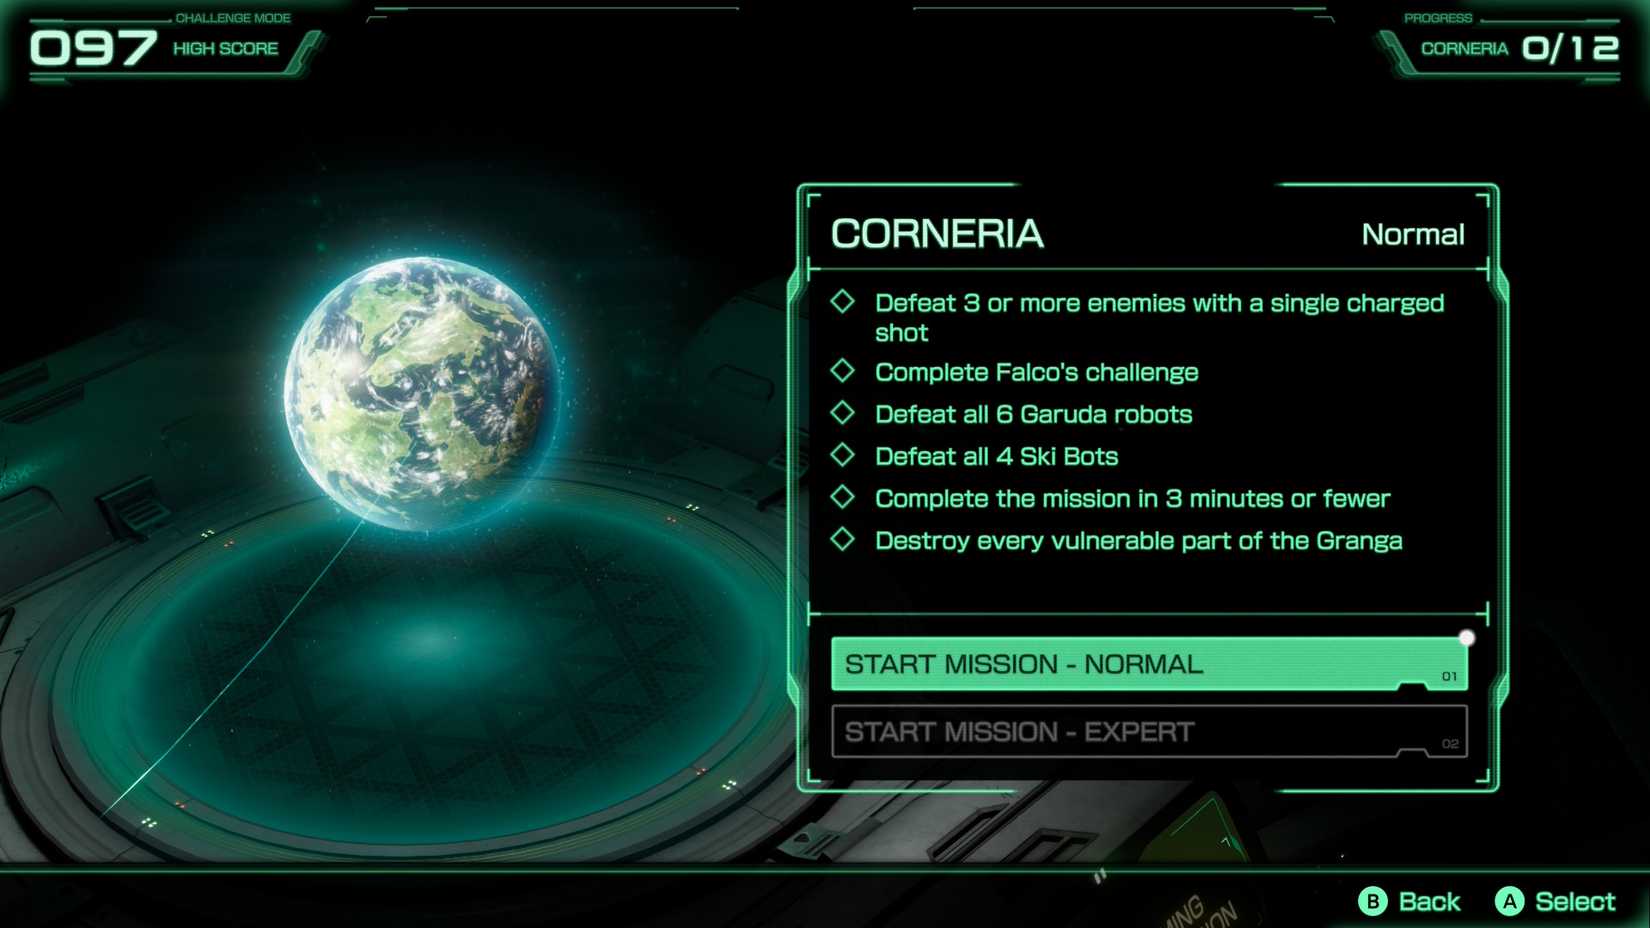
The campaign is non-linear, featuring an intricate map of two dozen possible routes between the starting point at Corneria and the final confrontation on Venom. To navigate these effectively, players should utilize the map viewer. By highlighting a planet and pressing the ‘X’ button, you can inspect the specific criteria required to unlock alternate routes. Understanding these requirements is the difference between a standard run and discovering the game’s most challenging content.
Tactical Maneuvers and Arwing Control
The Arwing is a nimble machine, but its effectiveness depends entirely on how the pilot utilizes its suite of flight mechanics.
Perspective Management
If you find that your long-range sniping is consistently missing, do not hesitate to toggle your camera. By pressing the ‘-’ button, you can shift from the standard third-person perspective into first-person cockpit mode. While this narrows your peripheral vision—making it more difficult to spot threats approaching from the vertical axis—it provides a significant boost to precision aiming. This is particularly useful when attempting to hit small, fast-moving targets or when aiming for high-score objectives.
Mobility and Evasion
The tutorials emphasize the utility of somersaults and U-turns, but the most seasoned pilots know that speed management is just as vital. Slowing down can often allow you to execute tighter turns, keeping an evasive enemy in your sights longer.
Crucially, players must learn the limitations of the barrel roll. While it is an essential tool for deflecting standard lasers and missiles, it is not a "get-out-of-jail-free" card. A barrel roll does not provide total invincibility; colliding with environmental hazards like boulders or mechanical arms will still result in significant damage. Use this maneuver for projectile deflection, but rely on active evasion for physical obstacles.
The Value of Comrades: Protecting Your Wingmen
Peppy, Falco, and Slippy are more than just flavor text; they are integral to your success. While they are seasoned mercenaries, they are prone to finding themselves in precarious situations.

The Cost of Neglect
Each mission will see your allies come under fire. You have a choice: prioritize your own score, or deviate to save your friends. Allies you fail to protect will be absent from the subsequent mission. This has immediate tactical consequences.
For instance, on the planet Corneria, ensuring Falco’s survival is a prerequisite for unlocking the path to Sector Y. Furthermore, in dogfight-heavy missions like Fichina or Venom, your allies serve as essential fire support. With fewer allies, the enemy focus shifts entirely to your Arwing, turning a manageable encounter into an overwhelming barrage of fire. Prioritizing their safety is a strategic investment in your own survivability.
Advanced Combat Tactics
To truly dominate the Lylat System, players must move beyond simple "shoot-everything-that-moves" tactics.
Precision Charging
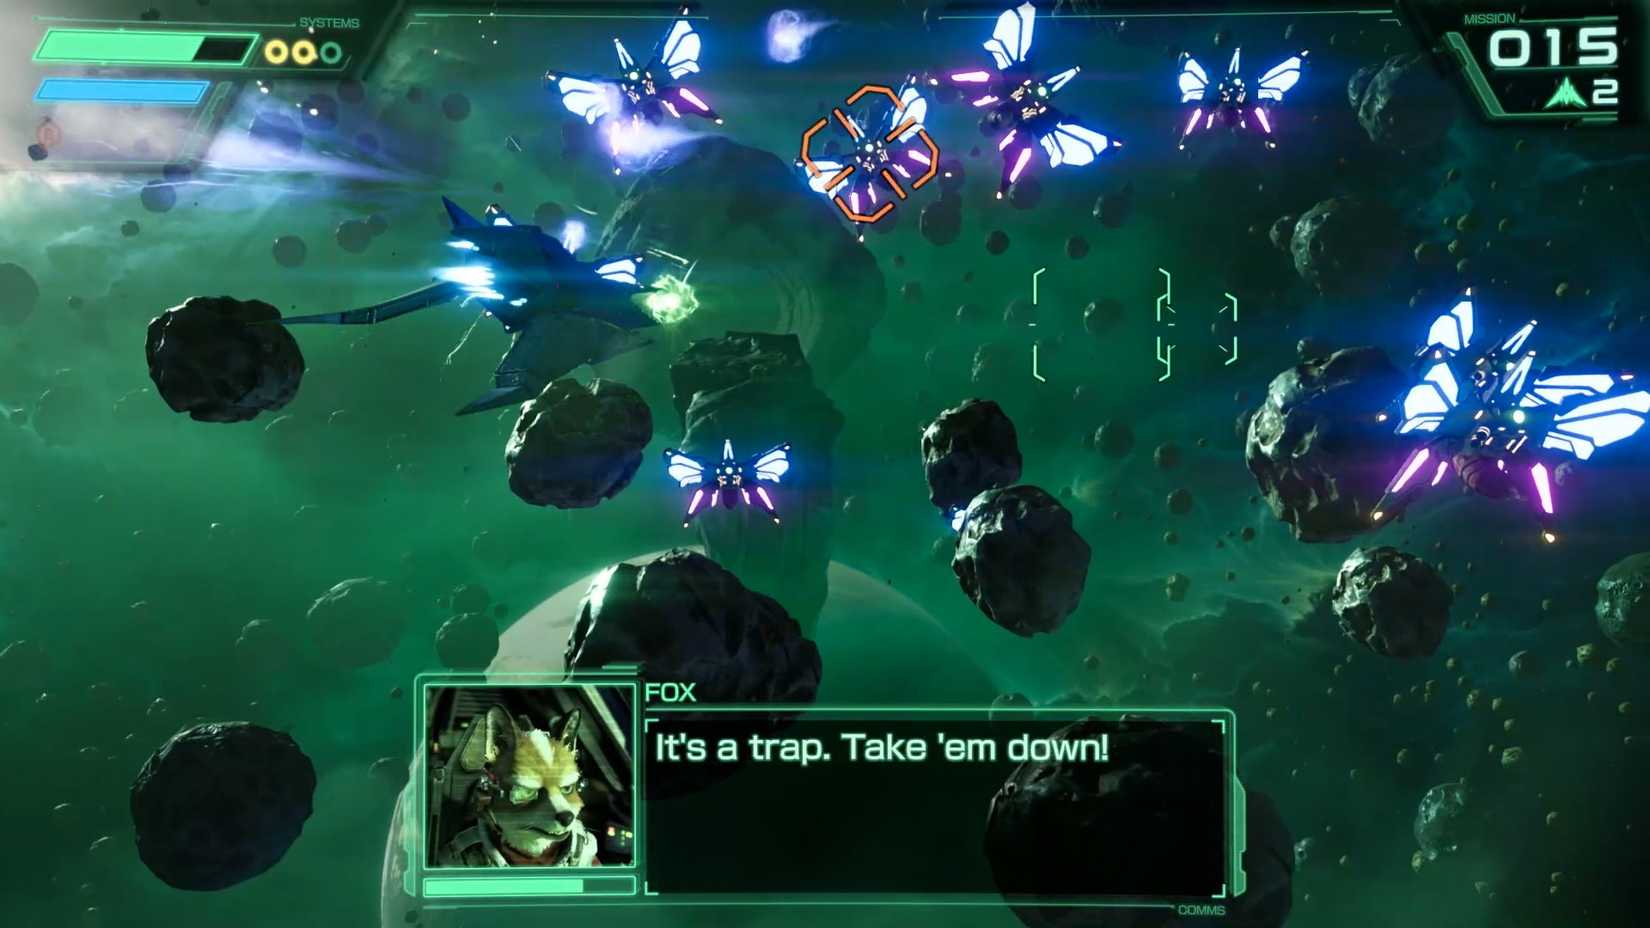
When facing dense formations of enemy fighters, the charged shot is your most potent weapon. However, aiming at the lead ship is often a waste of potential. Instead, lock your charged attack onto the central enemy in a formation. The resulting explosion carries a splash-damage radius that can wipe out the entire cluster in a single strike. This efficiency allows you to manage your limited time-on-target more effectively.
The Importance of "Total Hits"
In the world of Star Fox, your score is a reflection of your contribution to the war effort. Landing a high number of hits is not just for bragging rights; it is a mechanical necessity.
- Route Unlocks: Certain alternate paths require a specific, high hit count to trigger.
- Resource Recovery: The amount of health your allies recover at the end of a mission is directly tied to your total hit count.
Don’t ignore stationary turrets, environmental objects, or secondary projectiles. Every destroyed object contributes to your total, and these items frequently drop crucial health-restoring shields or additional bombs.
Communication and Support
In the chaos of battle, information is a resource. You will frequently see prompts on the screen indicating an incoming message. Always prioritize accepting these calls. These communications are from R.O.B., and they signify an opportunity for a supply drop or coordinated covering fire.
These prompts are time-sensitive; they linger for only a few seconds. If you fail to acknowledge them, you forfeit the support. In higher-difficulty routes, these drops can mean the difference between a mission success and a forced restart.
Scaling the Challenge: Expert Mode
If the standard campaign begins to feel routine, the game offers a distinct transition into higher-tier play. Once you have secured at least one medal for a planet, you gain access to additional challenges and the Expert Campaign.
The Expert mode is not merely a health-pool adjustment; it features redesigned enemy placements and new threats that demand a deeper mastery of the Arwing’s mechanics. Most significantly, Expert mode removes the safety net of continues. If your Arwing is destroyed, your progress is reset to the very beginning of the journey. This mode is the ultimate test of the skills developed during your initial playthrough, requiring a flawless understanding of flight, combat, and route management.
Summary of Core Principles for New Pilots
To summarize, success in Star Fox is built on these foundational habits:
- Consistency: Always aim for the center of enemy formations to maximize splash damage.
- Vigilance: Never ignore incoming messages from R.O.B.; the tactical advantage provided by a well-timed supply drop is irreplaceable.
- Protection: Treat your wingmen as an extension of your own survival. Their presence directly reduces the heat you take in dogfights.
- Exploration: Use the map screen to plan your path. If you aren’t hitting the requirements for a secret route, check the medals and objectives for that specific planet.
- Adaptation: Switch to first-person view for precision, but keep a close eye on your radar to ensure you aren’t blindsided by threats from above or below.
By integrating these tactics into your playstyle, you will find that the Lylat System is far more than a simple shooting gallery—it is a sophisticated, reactive battlefield that rewards patience, precision, and a willingness to master the skies. The war against Andross is long, but with these techniques, you are ready to take to the wings and secure victory.


