
For many backyard chefs, the Blackstone griddle is synonymous with Saturday morning pancakes, smashed burgers, and stir-fried vegetables. However, a growing cohort of culinary enthusiasts has discovered that this versatile flat-top surface is also a powerhouse for one of the world’s most beloved dishes: pizza. The challenge, of course, lies in the intense, concentrated heat of the steel. Unlike a traditional pizza oven that radiates heat from the top down, a griddle delivers high-intensity conductive heat directly to the dough. Without the proper technique, this often leads to a common tragedy—a crust that is charred to the point of bitterness while the cheese remains stubbornly unmelted and the toppings raw.
Achieving the perfect balance of a crispy, golden-brown bottom and a bubbly, perfectly cooked top on a Blackstone requires a departure from standard grilling habits. By mastering the physics of indirect heat and temperature management, you can turn your outdoor griddle into a professional-grade pizzeria.
Main Facts: The Physics of Griddle Pizza
The primary issue with cooking pizza on a flat-top griddle is the speed of heat transfer. Steel is an excellent conductor of heat. When dough hits a surface heated to high temperatures, the sugars in the flour caramelize—and eventually burn—almost instantly.
To circumvent this, the "split-heating" method has emerged as the gold standard for Blackstone users. By activating only half of the burners on your griddle, you create two distinct culinary zones: a "searing zone" and a "finishing zone." This allows the chef to slide the pizza between areas of high intensity and ambient warmth, ensuring the dough cooks through before the bottom becomes a blackened husk.
Beyond temperature zones, preparation is paramount. Hydration levels in your dough, the quality of your oil, and the thickness of your crust all play a role in how the dough interacts with the seasoned steel.
Chronology of a Perfect Griddle Bake
To understand how to execute a restaurant-quality pizza on your Blackstone, it helps to view the process as a chronological sequence of steps, each designed to manage heat distribution.
Phase 1: Preparation (T-Minus 20 Minutes)
Before the first burner is ignited, your station must be prepped. Ensure your griddle is clean and well-seasoned. If the surface has food residue from a previous cook, the dough will inevitably stick. Once cleaned, apply a light, even layer of high-smoke-point oil (such as avocado or grapeseed oil). If you are using raw toppings like peppers, onions, or sausage, sauté them on the griddle first. Putting raw, moisture-heavy vegetables on a pizza that cooks in under ten minutes is a recipe for a soggy crust.
Phase 2: The Indirect Heat Setup
Ignite only half of your burners, setting them to a low-to-medium heat (aiming for roughly 350 degrees Fahrenheit). Allow the griddle to reach this temperature equilibrium. Placing the pizza on a cold griddle that is rapidly heating can cause the dough to "weep" or stick, so patience during the preheat is essential.
Phase 3: The Initial Set
Place your stretched dough onto the cooler side of the griddle. For the first two to three minutes, allow the dough to set. Once the bottom has firmed up slightly, rotate it. This rotation is not just for the crust; it is to ensure that the edges of the dough are not exposed to the radiant heat of the adjacent burners for too long.
Phase 4: The Build and The Finish
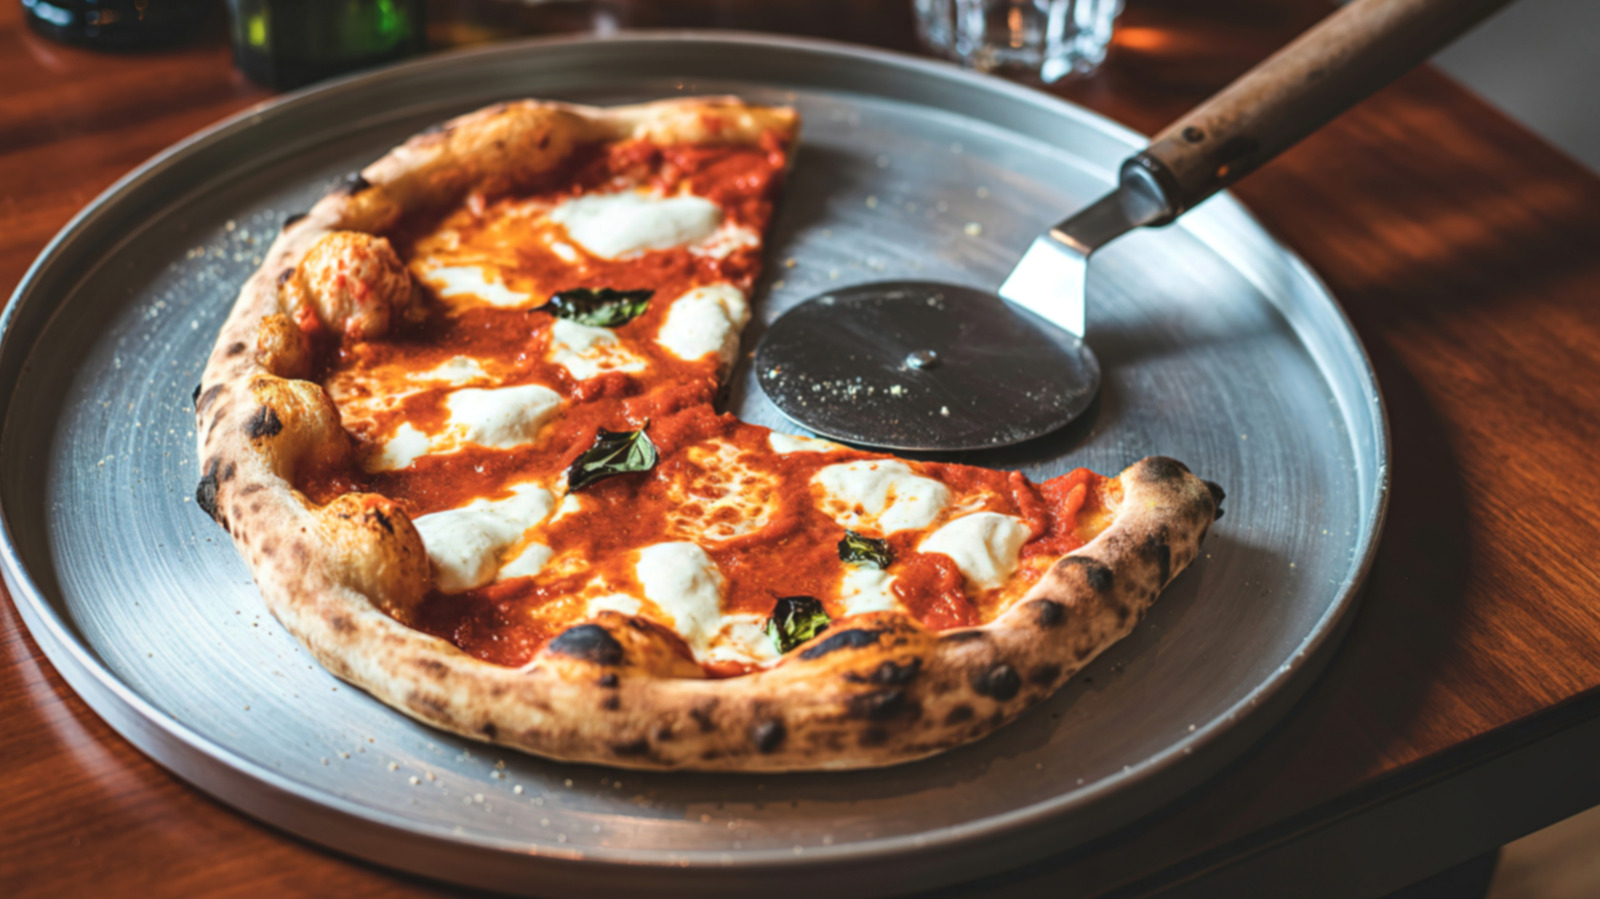
Once the bottom is golden, move the pizza toward the center, straddling the transition between the active and inactive burners. Add your sauce, cheese, and pre-cooked toppings. Because the bottom is already set, you are now waiting for the top to catch up. This is where the magic happens—the crust finishes its crisping process while the cheese reaches the desired level of molten perfection.
Supporting Data: Techniques for Success
While the indirect heat method is the foundation, several secondary techniques can drastically improve your results.
The "Basting Dome" vs. The Lid
Many griddle enthusiasts rely on a basting dome to trap steam and melt cheese. While effective for a single small pizza, it can sometimes introduce too much moisture, leading to a limp crust. If your Blackstone model features a hard cover, the most professional approach is to turn off the burners entirely after the pizza has been on the surface for about five minutes. Closing the lid traps the ambient heat, creating a convection environment similar to a traditional pizza oven. This "trapped heat" method is often superior to using a dome because it allows for a more consistent temperature across the entire surface of the pizza.
Barrier Methods
For beginners, there is no shame in using a "crutch." Utilizing a wire cookie sheet, a thin pizza stone, or even a heavy-duty pizza screen between the griddle surface and the dough can provide a buffer against the intense heat. This creates an air gap, slowing down the heat transfer and providing a larger margin of error for those still learning the quirks of their specific griddle’s hot spots.
Official Recommendations and Expert Insights
Culinary experts emphasize that the dough itself is the variable most often ignored. When cooking on a griddle, a high-hydration dough (often used for Neapolitan pizzas) can be difficult to manage because it is sticky and prone to tearing. A lower-hydration dough, which is easier to handle and more structural, performs better on a flat-top surface.
Furthermore, "docking" the dough—the process of poking small holes across the surface with a fork or a dough docker—is essential. This prevents large air bubbles from forming in the center of the crust, which can cause uneven cooking and potential burning of the top surface of the bubble before the rest of the dough is finished.
Implications: The Shift in Home Cooking
The rise of griddle-based pizza signifies a broader shift in home culinary habits. Consumers are moving away from single-use appliances—like dedicated pizza ovens that take up massive amounts of patio space—in favor of multi-functional tools.
The implication for the home cook is clear: mastery of the Blackstone is no longer just about breakfast and lunch. It is about understanding the versatility of conductive heat. When a user learns to balance the intense heat of a steel griddle with the gentle touch of indirect roasting, they unlock the ability to host "pizza nights" that rival local pizzerias.
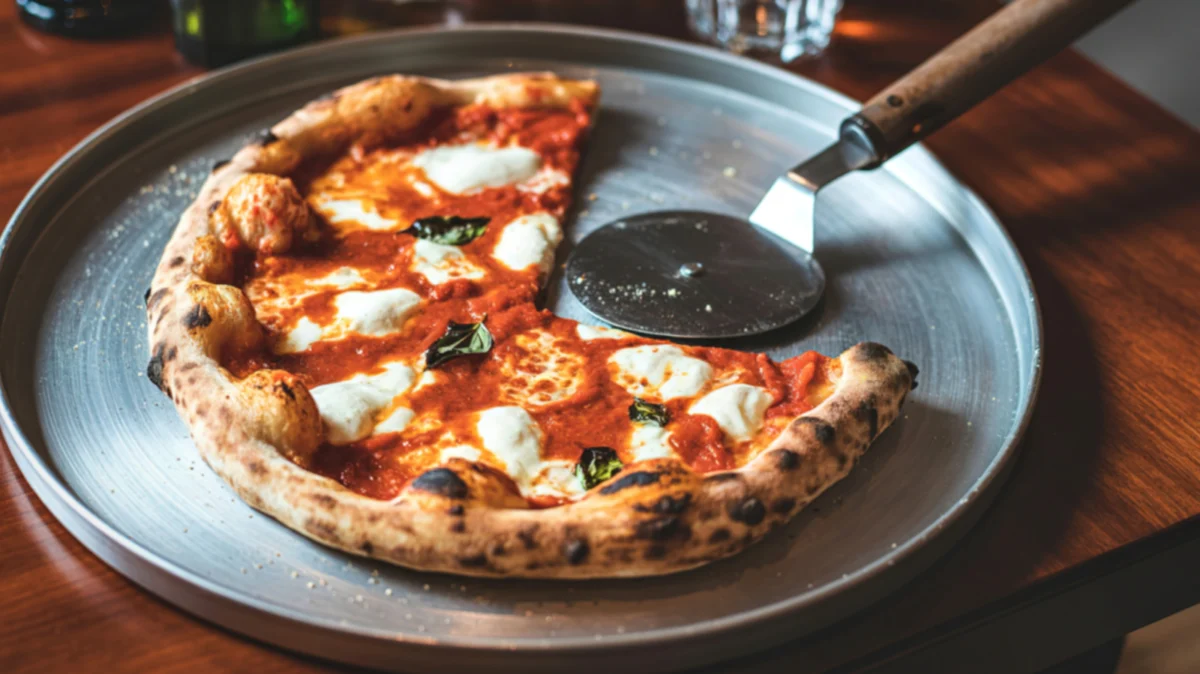
Moreover, this technique democratizes artisanal pizza. It removes the barrier of entry created by expensive brick ovens. With a $300-$500 griddle and a basic understanding of heat zones, any home cook can achieve a result that features the leopard-spotted crust and perfectly melted toppings that were once considered the exclusive domain of professional chefs.
Final Thoughts on Consistency
Ultimately, the "key" to Blackstone pizza is not a secret ingredient, but rather the consistent application of heat management. Whether you choose to use the split-heating method, the trapped-heat lid technique, or a protective barrier, the goal remains the same: treat the dough with respect, manage the intensity of the steel, and never underestimate the power of a well-timed rotation. As you refine your process, you will find that the Blackstone is not just a griddle—it is a blank canvas for the perfect pie.