
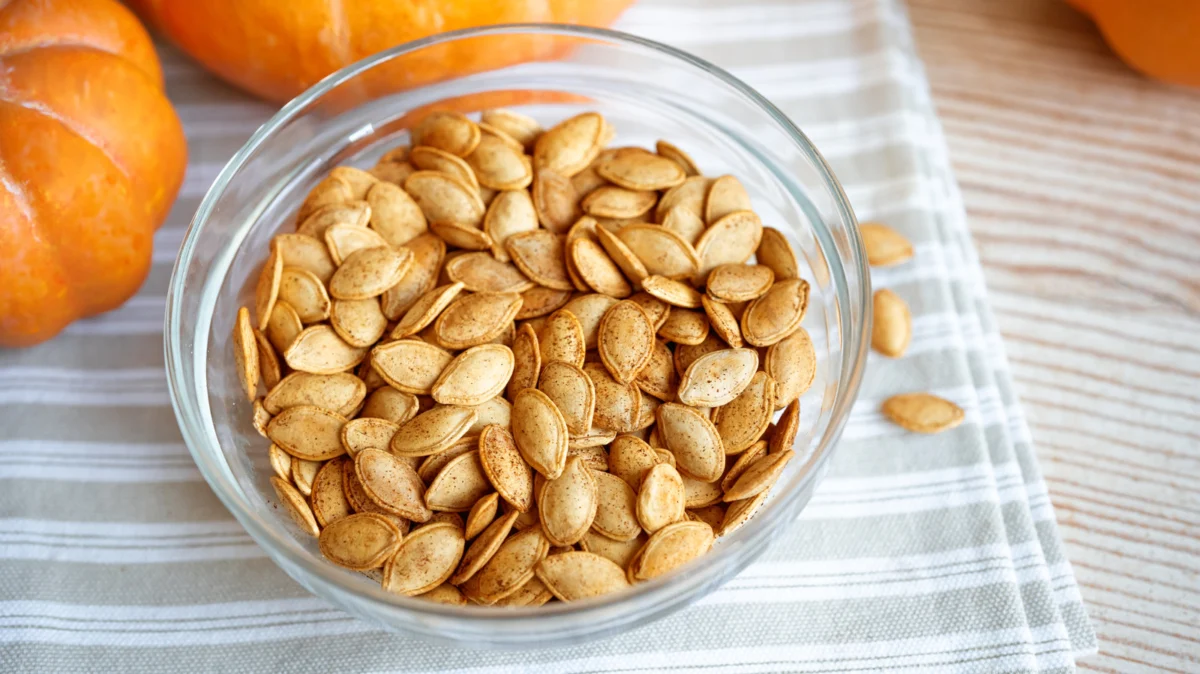
Whether you are carving a jack-o’-lantern for Halloween, preparing a hearty autumn soup, or simply seeking a nutrient-dense, plant-based snack, the humble pumpkin seed is often overlooked as a culinary afterthought. Yet, these "pepitas" are nutritional powerhouses, packed with magnesium, zinc, and healthy fats. Transforming them from a slimy, pulp-covered nuisance into a golden, crispy, and flavorful snack requires more than just a hot oven.
To achieve the perfect crunch—one that crackles between the teeth without a hint of sogginess or burnt bitterness—home cooks must master a specific set of techniques. From the initial cleaning process to the final seasoning, here is the definitive guide to roasting the absolute best pumpkin seeds.
The Fundamentals of Preparation
Cleaning and Drying: The Non-Negotiable First Step
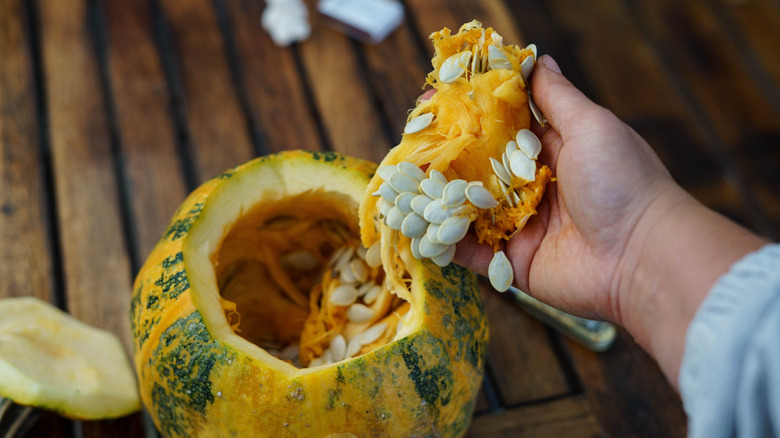
The journey to a perfect snack begins with the removal of the seeds from the pumpkin cavity. Naturally, they emerge coated in a stubborn, viscous pulp. While this can seem like a daunting chore, the process is streamlined by a simple physics trick: buoyancy.
By submerging the raw, stringy seeds in a large bowl of cold water, the pulp will naturally sink to the bottom while the seeds float to the surface. After skimming off the seeds, a quick rinse in a colander under running water will dislodge any remaining fibers. However, the most critical error home cooks make is failing to dry the seeds adequately before they hit the heat.
Excess moisture is the enemy of crispiness. If you attempt to roast wet seeds, they will steam rather than toast, leading to a chewy, rubbery texture. To ensure success, spread your cleaned seeds in a single layer on a kitchen towel or paper towels. Use additional paper to blot them until they are completely dry to the touch. This extra effort saves time in the oven and ensures the final product is uniformly crisp.
The Science of the Brine: Boiling Before Roasting
While it may seem counterintuitive to introduce water to an item you intend to dehydrate, boiling the seeds in salted water for roughly 10 minutes prior to roasting is a "chef’s secret" for a reason. This process serves two purposes: it softens the tough outer hull, making the finished product easier to chew, and it allows the salt to penetrate the seed from the inside out, rather than merely sitting on the surface.
For a more sophisticated flavor profile, consider adding aromatic elements to your boiling water—such as garlic cloves, cumin seeds, or even a splash of beer to introduce malty, complex notes. If time allows, marinating the seeds in this brine overnight can elevate the final flavor profile significantly.
Technical Execution: Achieving the Golden Crunch
Avoiding the Overcrowding Trap
In the culinary world, "crowding the pan" is the cardinal sin of roasting. When a baking sheet is overloaded, the steam released by the seeds cannot escape; instead, it settles back onto the seeds, creating a moist environment that prevents browning.
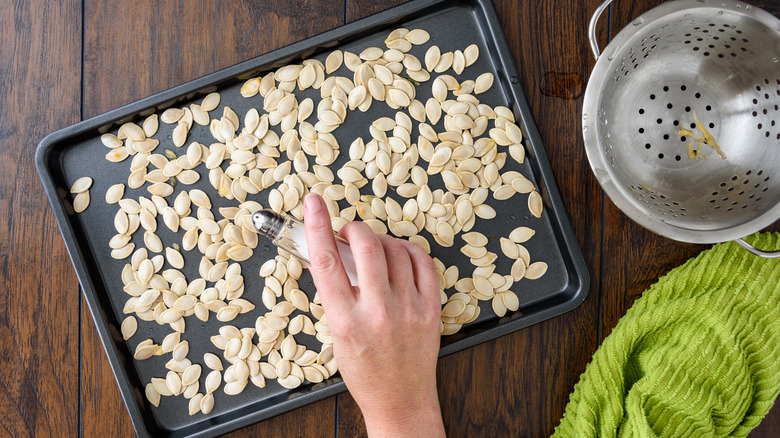
To achieve that professional-grade crunch, distribute your seeds in a single, even layer across your baking sheet. If you have a large harvest, do not hesitate to split them between two pans. If you are restricted by oven space, it is better to roast in two batches than to sacrifice the texture of the entire harvest.
The Role of Healthy Fats
A light coating of oil is essential for heat conduction and flavor development. While extra virgin olive oil offers a sophisticated, vegetal depth, neutral oils such as avocado, canola, or grapeseed are excellent for those who want the seasoning profile to take center stage.
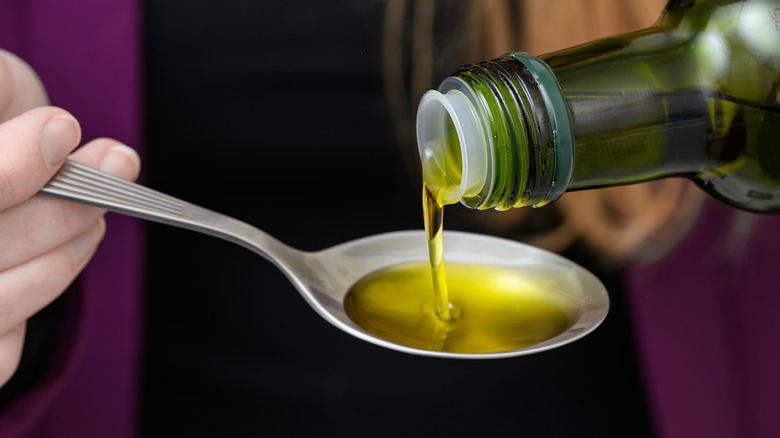
Aim for roughly two teaspoons of oil per cup of seeds. Using your hands to toss the seeds ensures an even, thin coating. Avoid using too much oil, as excess fat can cause the seeds to fry rather than roast, leading to an uneven texture where the outside is dark and the inside remains raw.
Flavor Profiles and Culinary Applications
Navigating the World of Seasonings
Pumpkin seeds are a blank canvas. Once you have mastered the base, the variations are limited only by your pantry’s contents.
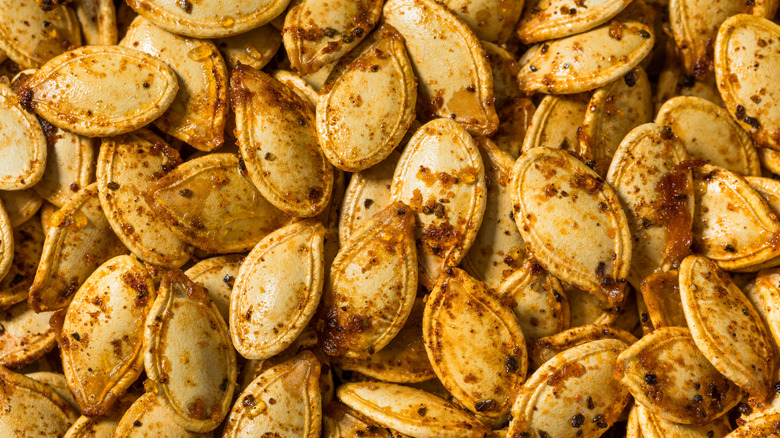
- The Savory Route: A classic combination of sea salt, garlic powder, onion powder, and a touch of smoked paprika creates a snack that mimics the complexity of a roasted nut mix. For a Mediterranean flair, consider tossing them in za’atar or a mix of sumac and dried oregano.
- The Spicy Kick: If you enjoy heat, cayenne pepper, chili powder, or even a dash of hot sauce (tossed with the oil) can provide a pleasant lingering warmth.
- The Sweet Side: For those who prefer a dessert-like snack, toss the seeds with a small amount of melted butter, brown sugar, and a generous dusting of pumpkin pie spice or cinnamon.
Pro Tip: Delicate seasonings, particularly dried herbs and sugars, are prone to burning under sustained heat. Add these during the final 5 to 10 minutes of roasting to ensure they toast without carbonizing.
The Art of the Roast: Temperature and Timing
Managing the Oven Environment
The goal of roasting is to evaporate moisture while browning the outer husk. A temperature of 325°F (approx. 165°C) is widely considered the "sweet spot." At this temperature, the seeds roast gently over 25 to 30 minutes, allowing the interior to crisp up without the exterior turning black.
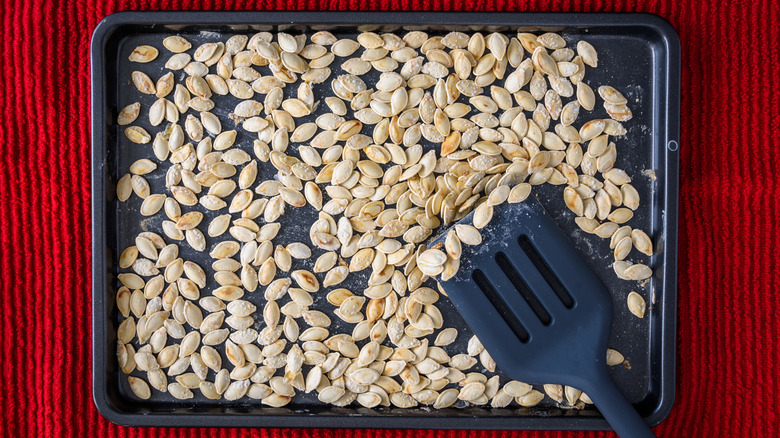
Because every oven has unique hot spots, consistency is key. Every 10 minutes, use a spatula to stir the seeds or give the pan a firm shake. This redistributes the seeds, ensuring that those near the edges of the pan don’t burn while those in the center remain pale.
The "Danger Zone"
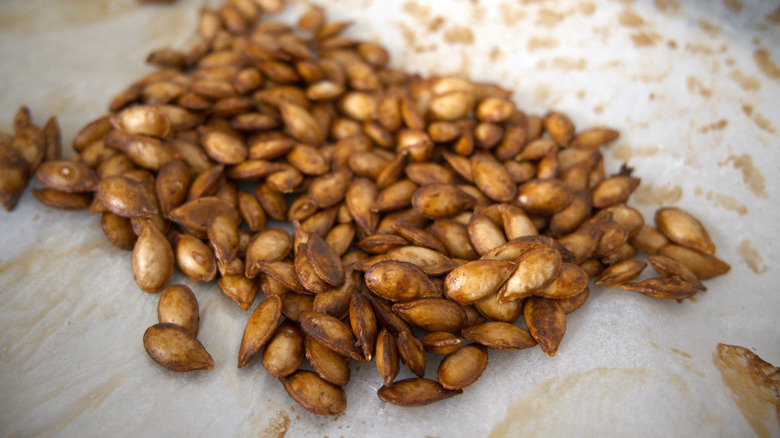
The transition from "perfectly roasted" to "burnt" happens in a matter of seconds due to the high oil content of the seeds. After the 25-minute mark, vigilance is mandatory. Keep a close eye on the color; you are looking for a deep, golden-brown hue. If you smell a slightly acrid, bitter aroma, remove the tray immediately.
Alternative Methods: Air Fryers and Skillets
The Air Fryer Advantage
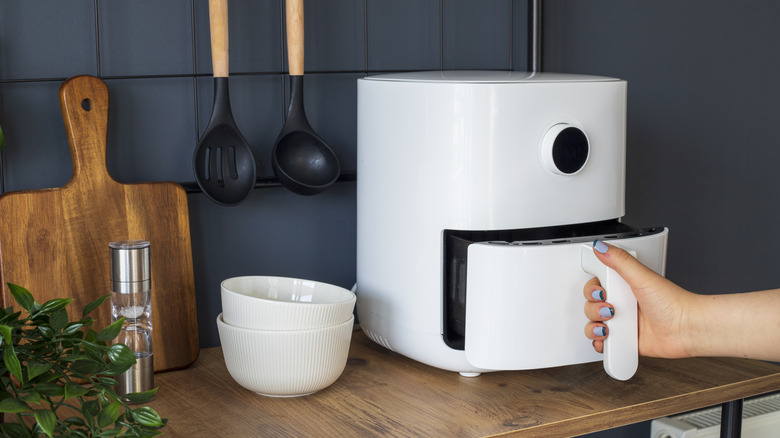
For smaller batches, the air fryer is often superior to the conventional oven. Its convection mechanism circulates high-velocity hot air, which wicks away moisture with incredible efficiency. Air-fried seeds often achieve a superior crunch in roughly 10 to 15 minutes. Ensure you use a parchment liner to prevent the seeds from falling through the rack, and remember to shake the basket midway through the process.
The Stovetop Skillet Method
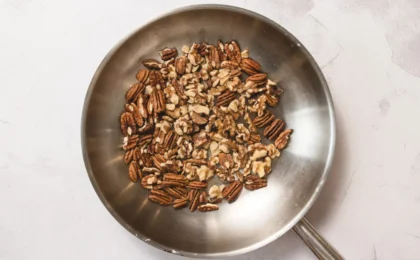
When you don’t want to heat up the entire kitchen, a heavy-bottomed skillet is an excellent alternative. Place your seasoned seeds in a dry or lightly oiled pan over medium heat. This method offers the most control, as you can see and smell the progress in real-time. It requires constant movement—shaking and stirring—to prevent scorching, but it is undoubtedly the fastest way to get a snack on the table.
The Finishing Touch: The Importance of Cooling
The most common mistake made by home cooks is consuming the seeds immediately upon removal from the heat. When hot, pumpkin seeds will invariably feel slightly soft or chewy. This is because they retain residual heat and moisture.
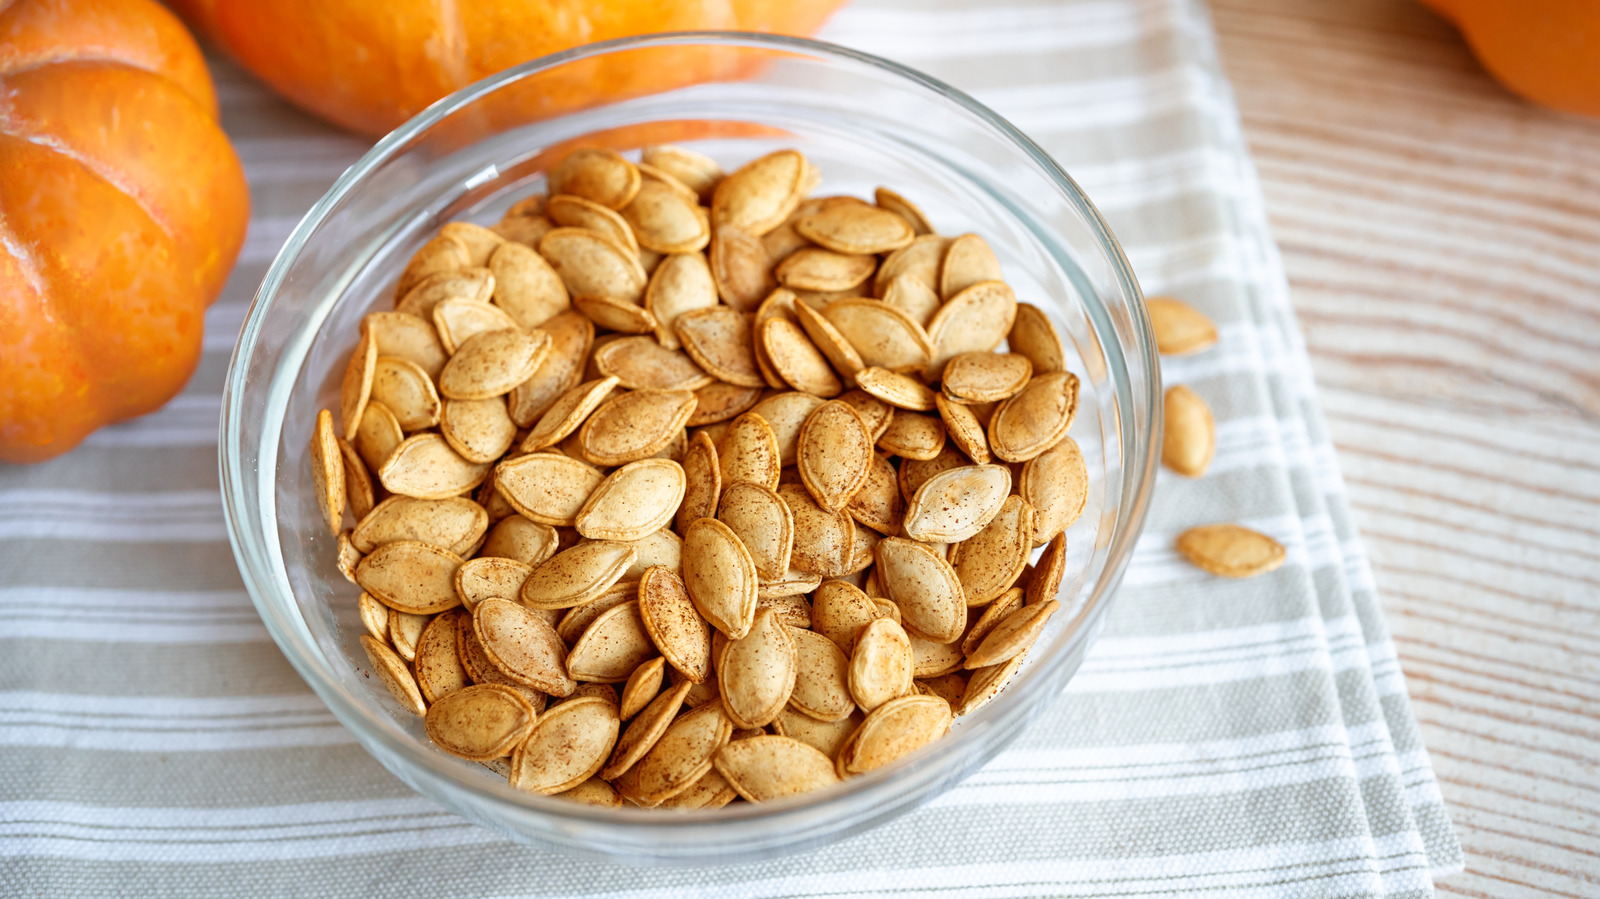
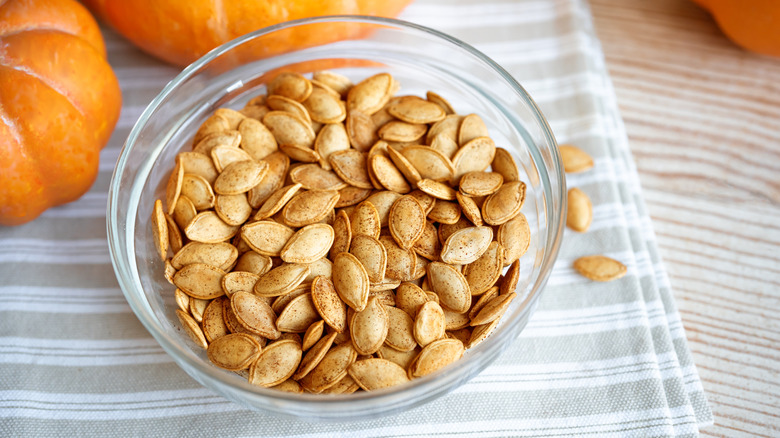
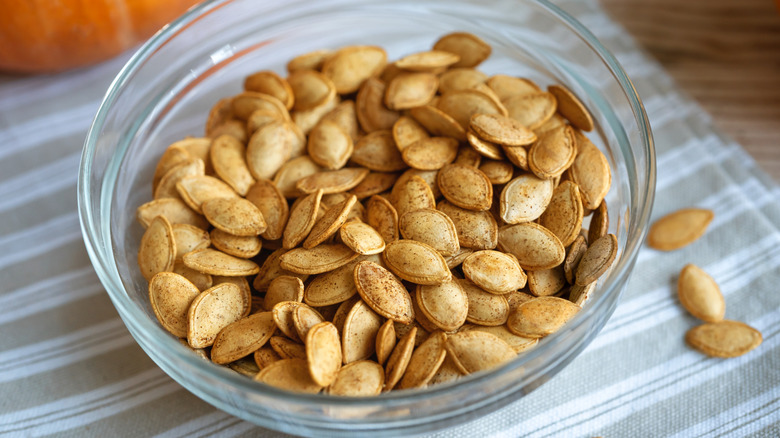
Allow the seeds to cool completely on the baking sheet for at least 15 to 20 minutes. As they reach room temperature, the remaining steam escapes, and the hulls tighten, resulting in that signature "snap." Once fully cooled, they can be stored in an airtight container for up to one week, maintaining their crispness and flavor.
By following these 10 foundational tips—from the thorough drying of the seeds to the patience required during the cooling phase—you can transform a simple garden byproduct into a gourmet treat that is as nutritious as it is addictive. Whether sprinkled over a creamy squash soup or enjoyed by the handful, these roasted pumpkin seeds represent the best of seasonal, sustainable cooking.